
Interfacing is the hidden layer that gives collars their crispness, keeps buttonholes flat and stops waistbands from rolling. Most patterns ask for it, and using it well is one of the quickest ways to make home-sewn clothes look professional. This guide explains how to use fusible interfacing: which type and weight to choose, and how to iron it on so it stays put.
Time 10 min read
Level Beginner
For Collars, cuffs, facings, waistbands
Tools Iron, press cloth, scissors
1. What interfacing does
Interfacing is placed between the outer fabric and the facing or lining. You never see it, but it adds support, shape and stability where the garment works hardest: around buttons and buttonholes, at necklines and armholes, in collars, cuffs, plackets and waistbands, and behind pockets and zippers. Fusible interfacing has glue on one side and is ironed on. Sew-in interfacing is stitched in place, and is used for fabrics that do not like heat.
2. The three types
| Type | Best for | Good to know |
|---|---|---|
| Woven | Shirt collars and cuffs, plackets, cotton and linen garments | Cut on the same grain as the fabric. Gives the most natural result. |
| Non-woven | Waistbands, bags, small stable areas | Cheap and easy, but heavier weights can feel stiff or bubble in garments. |
| Knit (tricot) | Stretch fabrics, viscose, crepe, jacket fronts | Moves with the fabric. Place the stretch going around the body, like the fabric. |
3. Choose the right weight
The rule is simple: interfacing should be the same weight as the fabric or a little lighter, never heavier. Too heavy and the area turns stiff like cardboard; too light and it does nothing. Lay the interfacing under a fold of your fabric and feel them together before you buy.
| Fabric | Interfacing |
|---|---|
| Light: voile, lawn, viscose, crepe | Light woven or knit |
| Medium: poplin, linen, twill, light denim | Light to medium woven |
| Heavy: denim, corduroy, wool coating | Medium woven or knit (heavy only for very structured collars) |
| Stretch knits: jersey, ponte | Light knit (tricot), or clear elastic for shoulder seams |
| Heat-sensitive: silk, sequins, velvet, vinyl | Sew-in interfacing or organza instead of fusible |
4. How to apply fusible interfacing
- Pre-shrink if needed. Some interfacings shrink. Hold the iron just above it with steam for a few seconds, or follow the maker’s advice.
- Cut the interfacing from the pattern piece. For less bulk, trim about 2 to 3 mm off the outer edge so the glue does not reach the iron or the seam.
- Lay the fabric wrong side up and place the interfacing on it, glue side down. Line up the edges.
- Cover with a press cloth, such as a scrap of cotton or organza, so no glue sticks to the iron.
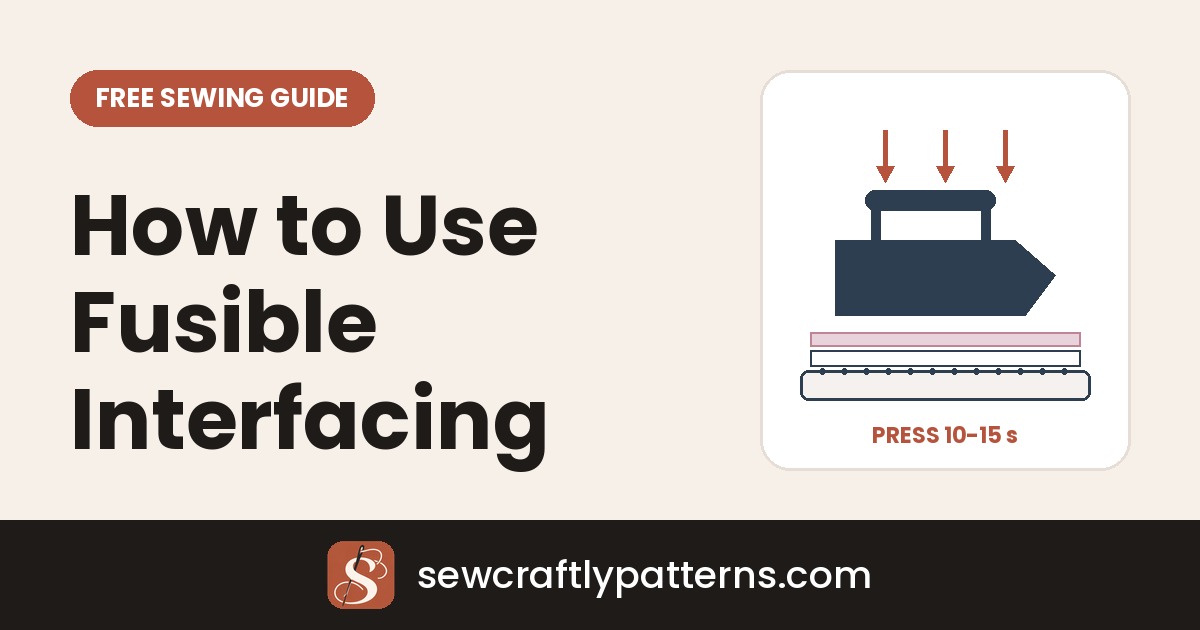
- Press, do not iron. Put the iron down, hold it for 10 to 15 seconds with firm pressure, lift it and move to the next spot, overlapping a little. Sliding the iron shifts and stretches the layers.
- Turn it over and press once more from the right side.
- Let it cool flat before you move it. The glue sets as it cools.
Tip: fuse a test square first on a scrap of your fabric. Check that it does not bubble, change the colour or show on the right side.
Troubleshooting
| Problem | How to fix it |
|---|---|
| Bubbles after washing | Not enough heat, time or pressure, or interfacing too heavy. Press longer, or use a lighter woven type. |
| Glue on the iron | The interfacing was upside down or wider than the fabric. Always use a press cloth. |
| Shiny marks on the right side | Lower the heat and press from the wrong side with a press cloth. |
| Stiff, boxy collar | The interfacing is too heavy. Choose one lighter than the fabric. |
| Outline shows through | Trim the interfacing edges, or interface the whole piece instead of a strip. |
How to practise
Shirts and jackets are where interfacing matters most: collar, collar stand, cuffs, button bands and front facings. Try it on one of our free shirt and top patterns or jacket patterns, and fuse all your pieces at once before you start sewing.
Questions
Which side of interfacing is the glue side?
The glue side feels rougher or looks slightly shiny, often with small raised dots. It goes against the wrong side of the fabric.
Can I skip interfacing?
It is not a good idea where the pattern asks for it. Collars go limp, buttonholes pucker and waistbands roll over. If you have none, a layer of light cotton sewn in works better than nothing.
Do I interface the facing or the outer piece?
Follow the pattern. Often the facing is interfaced so the outer fabric stays smooth. For collars, the outer (upper) collar is usually interfaced.
Can I use steam when fusing?
It depends on the product. Many fusible interfacings bond best with steam or a slightly damp press cloth. Check the maker’s instructions.
Pieces fused? Explore more sewing tutorials.