Knowing how to lengthen or shorten a sewing pattern is one of the easiest ways to get a better fit. Our patterns are drafted for an average height, so if you are taller or shorter, or you simply want a different length, you can change the pattern in minutes. It takes only paper, tape and a ruler, and it works for dresses, pants, skirts and jackets.
Time 10 to 15 min
Level Beginner
For Dresses, pants, skirts, jackets
Tools Ruler, tape, scissors, paper
1. Find out how much to change
The pattern page lists the height the pattern is drafted for. Our women’s patterns are drafted for 168 cm (5′6″). The easiest way to decide is to compare the finished lengths in the pattern’s measurement chart with a garment you own and like. Measure the same length on your garment, and the difference is the amount to add or remove. If you are taller, you will usually add length. If you are shorter, you will usually remove it.
Tip: keep your measurements at hand. If you do not have them yet, follow how to take your body measurements.
2. The method: cut and spread, or cut and overlap
- Print and tape your pattern first, following how to print and assemble PDF sewing patterns.
- Draw a line straight across the piece at a right angle to the grainline, at one of the places listed in the table below.
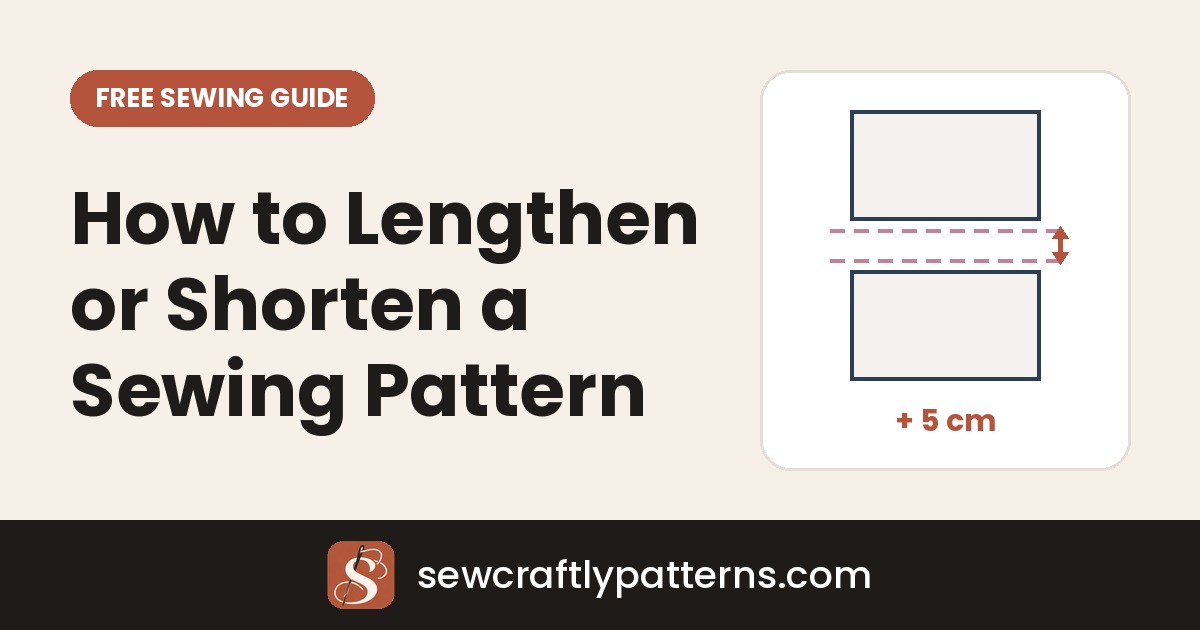
- To lengthen: cut along the line, slide the lower part down by the amount you need, and tape a strip of paper behind the gap. Keep the two parts aligned with the grainline.
- To shorten: draw a second line above the first at a distance equal to the amount you need. Fold along the lines so they meet, and tape. Or cut on one line and overlap the pieces.
- Redraw the side edges with a smooth line from above the change to below it, so the seam has no step.
- Repeat on every matching piece: front, back, linings and any piece that runs through the same part of the body, with the same amount.
3. Where to change each garment
| Garment | Where to change | Good to know |
|---|---|---|
| Skirts | About 10 to 15 cm (4 to 6″) above the hem | For a straight skirt, you can also change the length at the hem. Keep the hem shape. |
| Dresses and long garments | Between bust and waist for the body, and above the hem for the skirt | Adjust the body and the skirt separately if you need both. |
| Pants and shorts | On the lower leg, about 10 to 15 cm (4 to 6″) above the hem. For the rise, use the line between the waist and the crotch | Change the front and back legs by the same amount. Do not change only one leg piece. |
| Jackets and tops | Body: between the underarm and the hem. Sleeve: below the elbow | Check where the pockets and buttons fall after the change. |
| Sleeves | Midway between the elbow and the wrist | For a puff or a flared sleeve, change above the gathers or the flare. |
Many of our patterns already show lengthen and shorten lines on the pieces. If your pattern has them, use those lines.
4. Check before you cut the fabric
- Check that seams still match. Lay the side seam of the front over the side seam of the back, and check that they are the same length. Pin the seams to check the notches.
- Check the details. Pockets, buttons, zippers and belt loops may need to move. A zipper may need a longer one.
- Allow for the fabric. A longer garment needs more fabric. Add the extra length to the yardage, and a little more for matching.
- Sew a test version in cheap fabric if you change a lot. See how to choose your sewing pattern size for how a test garment helps.
Common mistakes to avoid
- Changing only one piece. Every piece that goes through the change needs the same amount, or the seams will not match.
- Cutting at an angle. The cut must be at a right angle to the grainline, or the garment will twist.
- Changing in the wrong place. Do not lengthen across a curve that gives the shape, such as the bust, the hip or the crotch curve, unless the pattern tells you to.
- Forgetting the hem. Add the length to the pattern, and keep the hem allowance as it is.
Free patterns to adjust
Try it on our spaghetti strap maxi dress sewing pattern or our wide leg pants sewing pattern, both drafted for a height of 168 cm (5′6″). Not sure about the fabric? Read how to choose fabric for sewing patterns.
Questions
How much can I lengthen or shorten a pattern?
Changes of up to about 5 to 8 cm (2 to 3″) work well in one place. For a bigger change, split it over two lines, for example half in the body and half in the skirt or the leg.
Do I lengthen the lining and the facings too?
Lengthen the lining by the same amount as the outer pieces. Facings usually stay the same, because they are only at the edges.
Can I just add length at the hem?
Yes, on straight garments such as simple skirts and straight pants. On a flared or shaped hem, change the length higher up so the shape stays right.
How do I know the height a pattern is drafted for?
It is listed on the pattern page, in the sizing guide. Our women’s patterns are drafted for 168 cm (5′6″).
Pattern adjusted? Pick your next free pattern and start sewing.