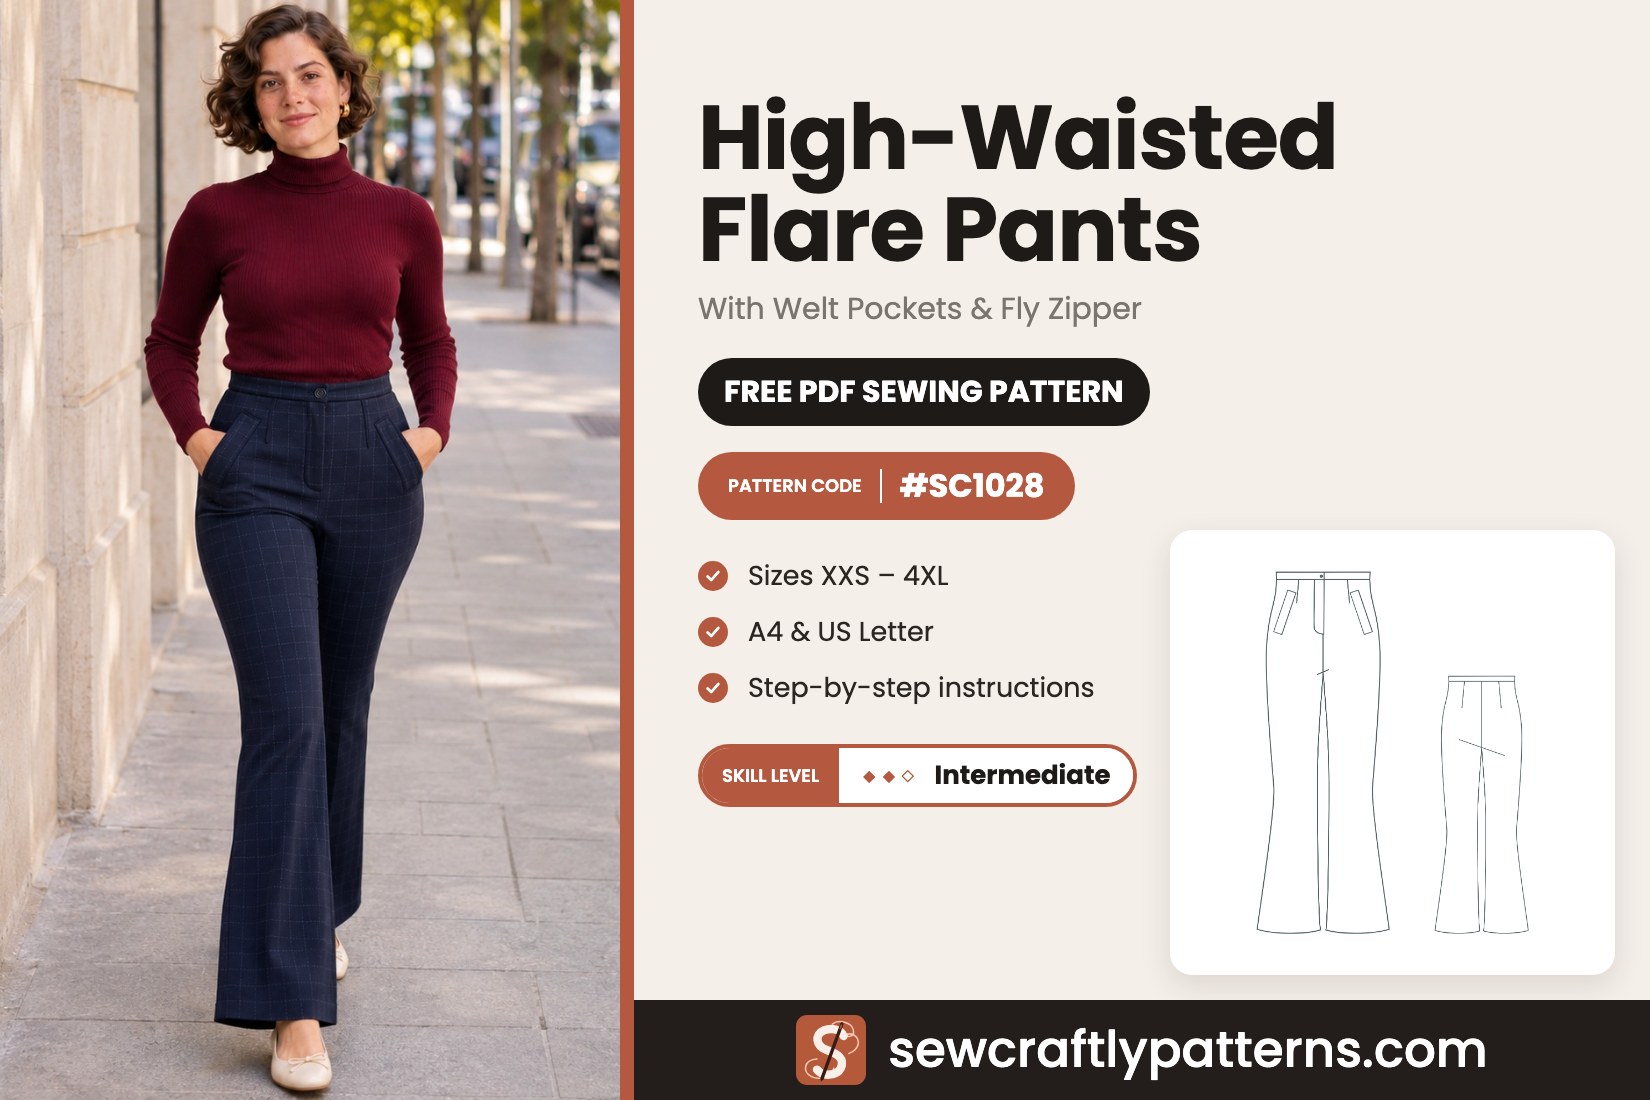
Garment High-waisted flare pants
Level Intermediate
Sizes XXS – 4XL
Fabric Medium-weight wovens
Pieces 8
This free flare pants sewing pattern makes high-waisted trousers that sit at the natural waist, skim the hips and open into a long, elegant flare from the knee down. Two slanted welt pockets keep the front clean, and a fly zipper with a buttoned waistband gives them a proper tailored finish.
The pattern is drafted for medium-weight wovens with good drape, ideally with a touch of stretch: stretch suiting, wool gabardine or crepe, or a cotton stretch twill. The fit is close at the waist and hips, with one dart on each front and back and a centre back seam. Along the way you will learn two classic tailoring techniques, the fly-front zipper and the single welt pocket. A navy windowpane check, like the one in our photos, turns them into office-ready flared trousers.
Materials
- Main fabric: 1.4 to 2.4 m (1 5/8 to 2 5/8 yd) of 150 cm wide fabric, or 2.3 to 2.4 m (2 5/8 yd) of 115 cm wide, depending on your size: stretch suiting, wool gabardine or crepe, cotton stretch twill
- Pocket lining: 0.3 m (3/8 yd) of cotton lawn or pocketing
- Fusible interfacing: 0.4 m (1/2 yd) for sizes 00–10, 1.3 m (1 1/2 yd) for sizes 12–22, or 0.4 m if you join the waistband interfacing
- One closed-end trouser zipper: 18 cm (7″) for size 00, 23 cm (9″) for sizes 0–22
- One button, 1 cm (3/8″), for the waistband
- Matching thread, chalk or a washable marker, a size 80/12 needle (a stretch needle if your fabric contains elastane)
Pattern pieces
- 1 Pants front, main fabric: cut 2 (a pair)
- 2 Pants back, main fabric: cut 2 (a pair)
- 3 Waistband, main fabric and interfacing: cut 1 + 1
- 4 Welt, main fabric and interfacing: cut 2 + 2
- 5 Inner pocket bag, lining: cut 2 (a pair)
- 6 Outer pocket bag, main fabric: cut 2 (a pair)
- 7 Fly facing, main fabric: cut 1
- 8 Fly interfacing, fusible interfacing: cut 1
Keep the grainlines parallel to the selvedge. After cutting, trim ONE front along the line marked CUT ON LEFT FRONT: it becomes the left front, and the other front keeps the full fly extension. The waistband is cut as one long piece and folded in half after sewing.
New to PDF patterns? Start here
Our free step-by-step guides take you from your measurements to a printed pattern:
- How to take your body measurements: what to measure and how, in 10 minutes.
- How to choose your size: which measurement to follow, and what to do between sizes.
- How to print and assemble your pattern: A4 or US Letter, the test box, and taping the pages.
Get the pattern
Free PDF pattern, with one file per size, XXS to 4XL (US 00–22). Share your make with #sewcraftly!
Print page 1 at 100% and check that the test square measures 10 cm (4 in). New to PDF patterns? Read how to print and assemble a PDF pattern.
Printable sewing tutorial
Need help completing the project?
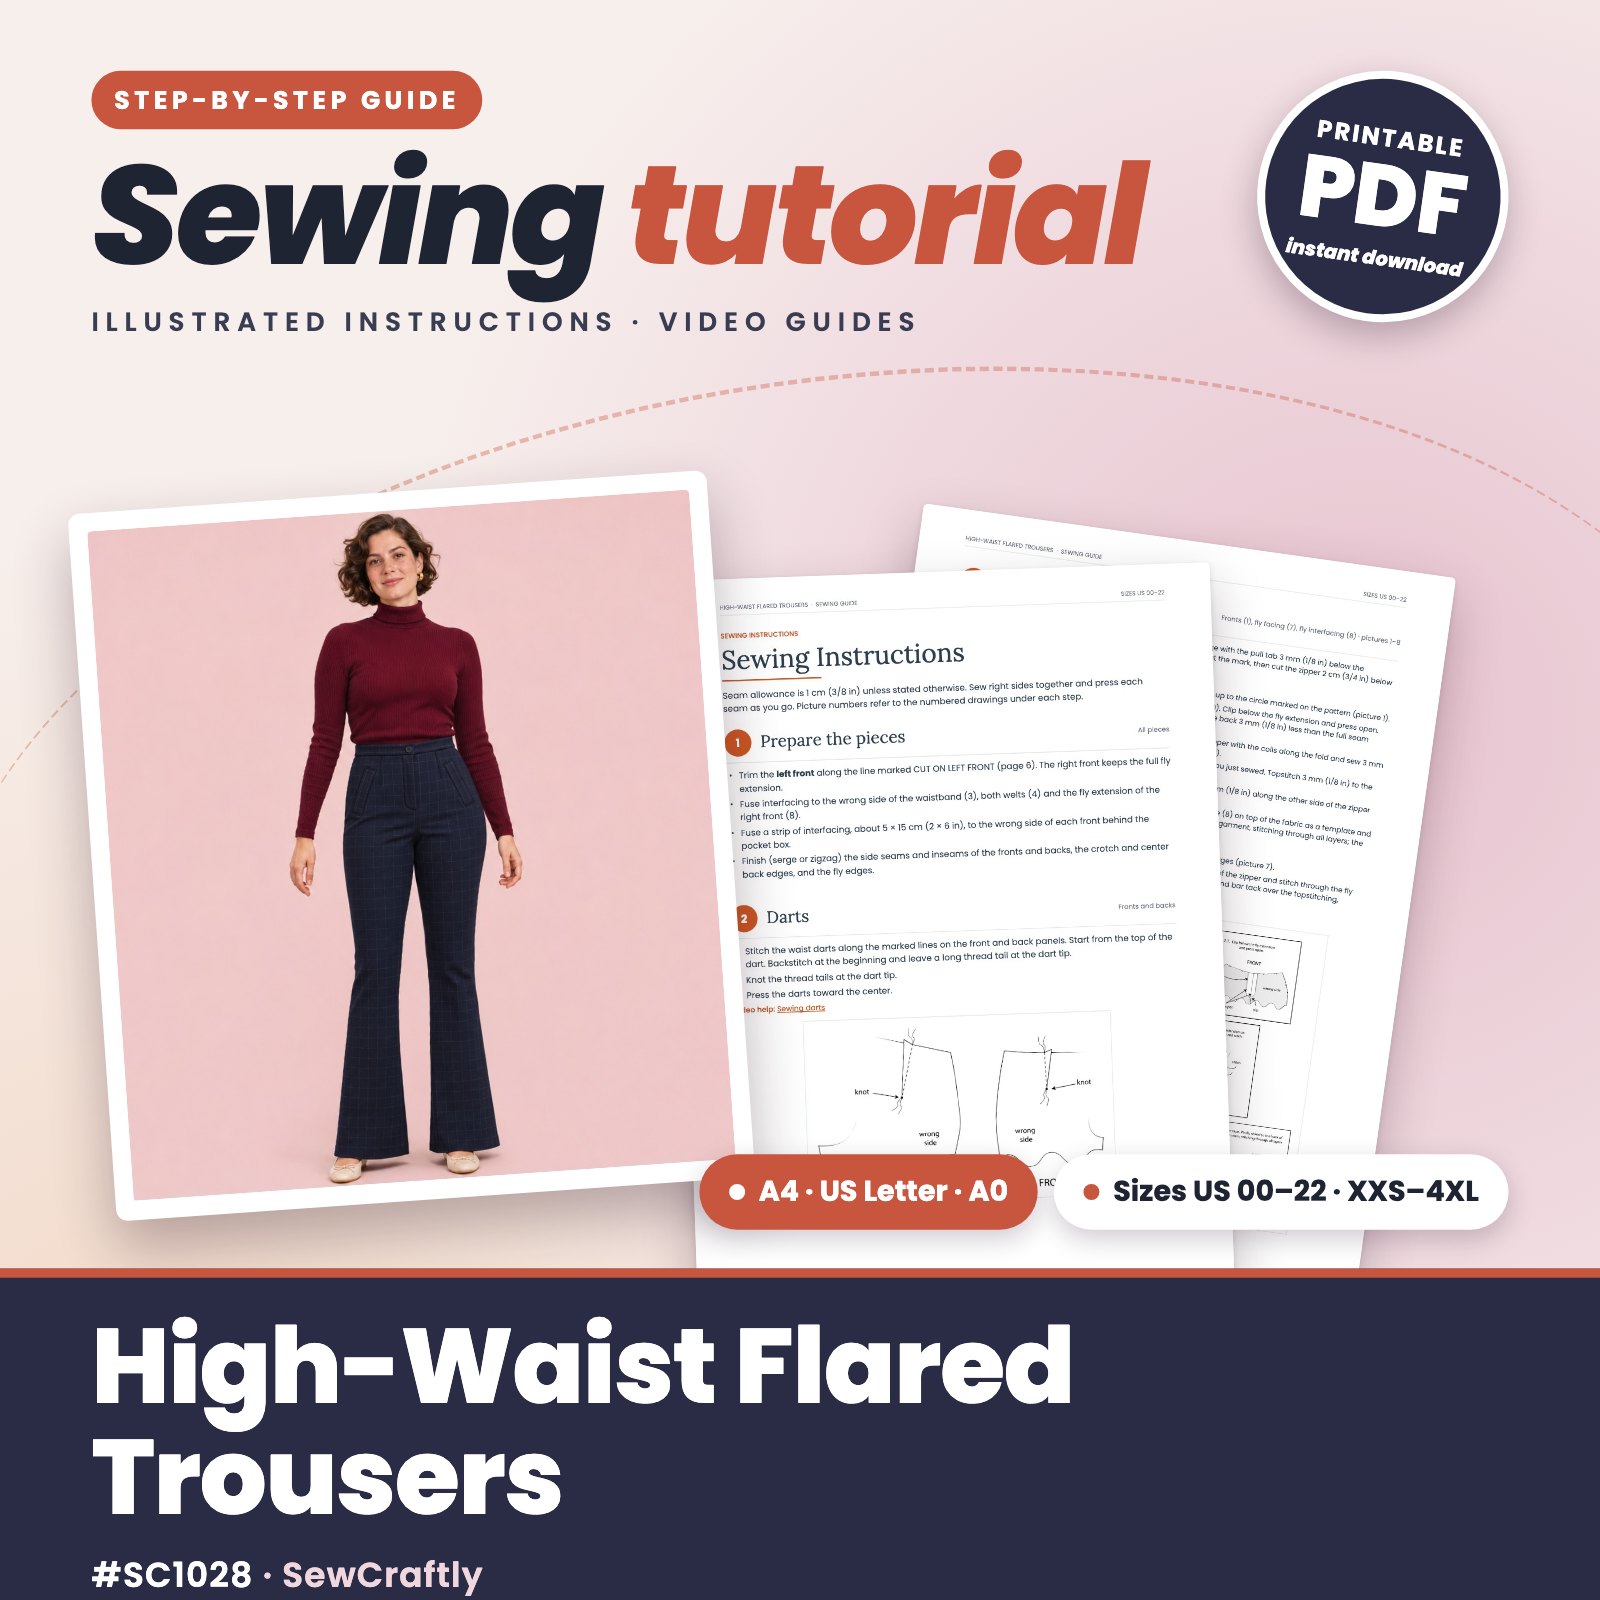
Get the full printable tutorial for the High-Waist Flared Trousers: detailed step-by-step sewing instructions with clear illustrations, line sketches, a sizing guide and the list of materials you need.
- Illustrated diagrams for every step, from the fly zipper to the slanted welt pockets
- Size charts, finished measurements and fabric amounts per size
- Video guides for the key techniques, with links and QR codes
- Printable PDF, instant download
Design details and fit of the flare pants
- High waist with a 3 cm (1 1/8″) straight waistband, closed with one button
- Fitted through the waist and hips, with a long flare from the knee to the hem
- One waist dart on each front and each back
- Slanted single-welt pockets with lined pocket bags
- Fly-front zipper, right front over left
- Centre back seam, no back pockets
The pattern is drafted for a height of 168 cm (5′6″). The fit is close: about 1.5 cm (5/8″) of ease at the waist and 1 cm (3/8″) at the hips, so a fabric with 1–3 % elastane is the most comfortable. The hem opening is wide, from 54 cm in size 00 to 82 cm in size 22, so the flare falls nicely over heels or boots.
Sizing guide
Choose your size by your waist and hip measurements in the table below. Between two sizes, or in a fabric with no stretch at all, choose the larger size. Compare the inseam with a pair of trousers you like before cutting. Not sure? Read how to choose your size.
Letter sizes: 00 = XXS · 0/2 = XS · 4/6 = S · 8/10 = M · 12/14 = L · 16 = XL · 18 = 2XL · 20 = 3XL · 22 = 4XL
Body measurements
| cm | 00 | 0 | 2 | 4 | 6 | 8 | 10 | 12 | 14 | 16 | 18 | 20 | 22 |
|---|---|---|---|---|---|---|---|---|---|---|---|---|---|
| Waist | 63.5 | 66 | 68.8 | 71.2 | 73.8 | 76.2 | 78.8 | 82.8 | 87.5 | 93.2 | 99 | 104.8 | 110.5 |
| Hips | 87.8 | 90.2 | 92.8 | 95.2 | 98 | 100.2 | 102.8 | 106.5 | 111 | 115.5 | 120.8 | 125.8 | 130.8 |
Finished garment measurements
| cm | 00 | 0 | 2 | 4 | 6 | 8 | 10 | 12 | 14 | 16 | 18 | 20 | 22 |
|---|---|---|---|---|---|---|---|---|---|---|---|---|---|
| Waist | 64.8 | 67.4 | 70.2 | 72.7 | 75.3 | 77.8 | 80.4 | 84.5 | 89.4 | 95.2 | 101.1 | 107 | 112.9 |
| Hips | 88.6 | 91.2 | 93.7 | 96.2 | 99 | 101.3 | 103.8 | 107.6 | 112.1 | 116.7 | 122 | 127 | 132.1 |
| Thigh | 55.2 | 56.7 | 58.3 | 59.9 | 61.6 | 63 | 64.5 | 66.9 | 69.7 | 72.6 | 75.9 | 79.1 | 82.2 |
| Knee | 41.7 | 42.7 | 43.4 | 44.2 | 45.2 | 46.2 | 47.5 | 49.1 | 50.8 | 52.6 | 54.6 | 56.6 | 58.9 |
| Hem opening | 53.9 | 55.4 | 57 | 58.9 | 60.8 | 62.8 | 64.6 | 67 | 69.7 | 72.8 | 75.8 | 79.1 | 82.1 |
| Front rise | 27.8 | 28.1 | 28.5 | 28.8 | 29.1 | 29.4 | 29.8 | 30.3 | 30.9 | 31.5 | 32.2 | 32.9 | 33.6 |
| Back rise | 37.5 | 38.3 | 39 | 39.9 | 40.7 | 41.4 | 42.1 | 43.3 | 44.8 | 46.6 | 48.5 | 50 | 51.7 |
| Inseam | 73.2 | 72.8 | 72.4 | 71.9 | 71.3 | 70.8 | 70.3 | 71.2 | 70.6 | 69.7 | 69 | 68.2 | 67.6 |
Waist, hips, thigh, knee and hem opening are full circumferences of the finished trousers. Seam allowances excluded.
Fabric and notions
| cm | US 00–10 | US 12–16 | US 18–22 |
|---|---|---|---|
| Main fabric, 150 cm wide | 140 | 230 | 240 |
| Main fabric, 115 cm wide | 230 | 240 | 240 |
| Pocket lining | 30 | 30 | 30 |
| Fusible interfacing, 90 cm wide | 40 | 130 | 130 |
Fabric amounts were calculated by laying out every pattern piece of each size, plus about 8 % for shrinkage and straightening. Add extra for matching stripes, checks or a one-way nap.
Common fit adjustments
Length. Lengthen or shorten at the hem, keeping the flare, or halfway between the crotch and the knee for bigger changes. Change the front and back by the same amount.
Waist and hips. Choose by the larger of the two measurements, then take in the side seams at the waist when you try the trousers on after step 7.
Sewing notes
Fit & style
Close at the waist and hips, flared from the knee. Try them on after the side seams and adjust before attaching the waistband.
Fabrics
Medium-weight wovens with drape and 1–3 % elastane: stretch suiting, wool gabardine or crepe, cotton stretch twill. Avoid very thin or very stiff fabrics.
Cutting & sewing
Transfer every marking: darts, welt boxes, fly lines and waistband marks. Use a fresh 80/12 needle and a 2.5–3 mm stitch for topstitching.
Choosing fabric for flared trousers
Stretch suiting is the easiest choice: it presses crisply for the welt pockets and fly, and the touch of elastane makes the close fit comfortable all day. Wool gabardine or crepe gives a classic tailored look for autumn and winter, while a cotton stretch twill or a linen-viscose blend makes a lighter pair for warm days.
The flare needs drape to swing, so skip stiff denim without stretch and very thin fabrics that show the pocket bags. Pre-wash the fabric the way you will wash the trousers, and if you choose a check like ours, buy extra and match the lines at the side seams and centre front.
Sewing steps
Seam allowance 1 cm (3/8″) unless stated otherwise. Sew with right sides together and press each seam as you go.
- Prepare the pieces. Trim the left front along the CUT ON LEFT FRONT line. Fuse interfacing to the waistband (3), both welts (4) and the fly extension of the right front (8), plus a 5 × 15 cm strip behind each pocket box. Finish the side seams, inseams, crotch and fly edges.
- Darts. Stitch the waist darts on the fronts and backs from the waist to the point, knot the thread tails at the tip and press the darts toward the centre.
- Fly zipper. Shorten the zipper if needed. Stitch the centre front from 2.5 cm above the inseam up to the circle, then baste to the waist. Sew the zipper to the folded right extension, then to the left extension, and topstitch the curved fly line through all layers. Remove the basting, attach the folded fly shield (7) and bar tack.
- Welt pockets. Fold, stitch and turn each welt. Baste it to the pocket line, lay both pocket bags (5, 6) on top and stitch the narrow rectangle. Cut the opening and into the corners, turn the bags through, stitch the bags together catching the triangles, then edgestitch the welt ends.
- Inseams. Pin the front and back of each leg at the inseam, matching notches, stitch and press open.
- Crotch seam. Stitch the rest of the crotch and centre back seam, then reinforce the curve with a second row 6 mm from the edge and trim.
- Side seams. Pin the side seams, matching notches, stitch from waist to hem and press open. Try the trousers on and adjust.
- Waistband, buttonhole and button. Press under the upper edge of the waistband, sew the waistline edge to the trousers matching the centre front, side and back marks, stitch the short ends, turn and slipstitch or topstitch. Make a 1.2 cm buttonhole and sew on the button.
- Hem. Try the trousers on with your shoes, finish the lower edge, turn up the 2 cm hem and sew it by machine or with a blind hem stitch. Press.
Tips and common mistakes
First welt pocket? Practise one on a scrap first, and cut into the corners right up to the stitching, never through it, so the opening turns square.
Fly gaping? Keep the left underlap pressed 3 mm less than the full seam allowance, as marked, and baste the centre front closed until the fly is finished.
Waistband too loose? Staystitch the waist edge after the darts so it does not stretch while you sew the pockets and fly.
Hem length. Flares look best just brushing the floor with the shoes you will wear, so always hem with them on.
How to style the flare pants
At the office: with a tucked-in fine knit or turtleneck and loafers or ballet flats.
Evenings: with a bodysuit, heels or platform boots under the flare and a cropped jacket.
A full suit: pair them with our fitted blazer sewing pattern in the same fabric.
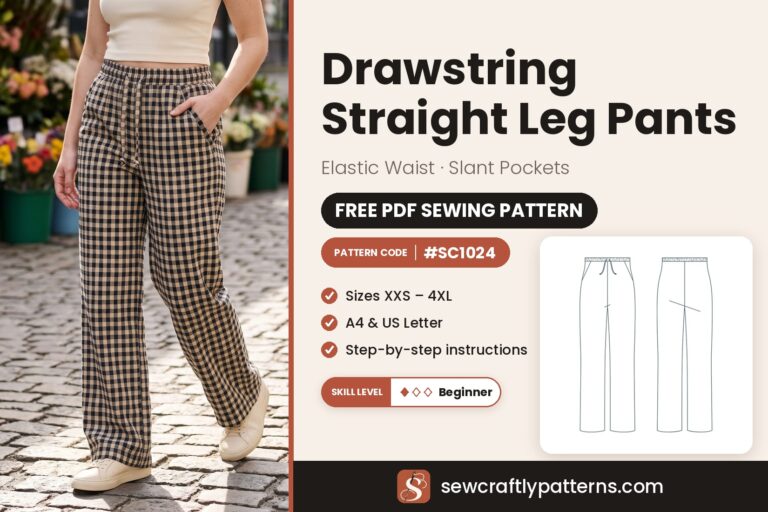
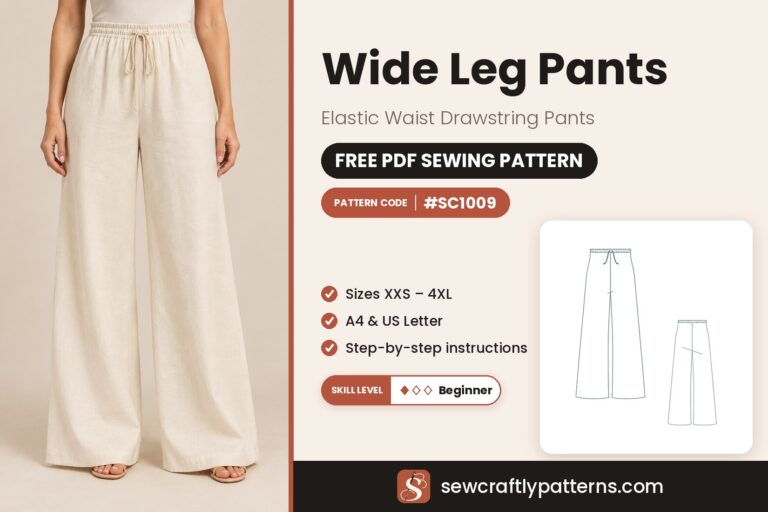
More pants to sew: for an easy pull-on pair, try our wide leg pants sewing pattern, or the drawstring pants sewing pattern for a relaxed straight leg.
Care
Follow the care instructions of your fabric. Wash inside out with the zipper closed, and press with a press cloth, especially on wool and dark fabrics.
Questions
Is seam allowance included?
Yes: 1 cm (3/8″) on all seams, 1.5 cm (5/8″) on the pocket bags and a 2 cm (3/4″) hem allowance.
Which paper sizes are included?
The free download comes in A4 and US Letter, as a printable PDF with one file per size, XXS to 4XL (US 00–22).
Which size should I choose?
Choose by your waist and hip measurements. Between two sizes, or in a fabric with no stretch, take the larger size.
Can I use a fabric without stretch?
Yes, but the fit is close, so choose the larger size if you are between two, and make a quick test version first.
How much fabric do I need?
From 1.4 m (sizes 00–10) to 2.4 m (sizes 18–22) of 150 cm wide fabric, plus 0.3 m of lining for the pocket bags. See the fabric table above.
Can I skip the welt pockets?
Yes. Leave out the welts and pocket bags for a clean front; everything else is sewn the same way.
Are these flare pants good for beginners?
They are an intermediate project because of the fly zipper and welt pockets. Read those two steps once before you start and practise a welt on a scrap.
Happy sewing!
Love our free patterns? Buy us a coffee to keep them coming, or simply share, pin and comment. Thank you!
 Support me on Ko-fi