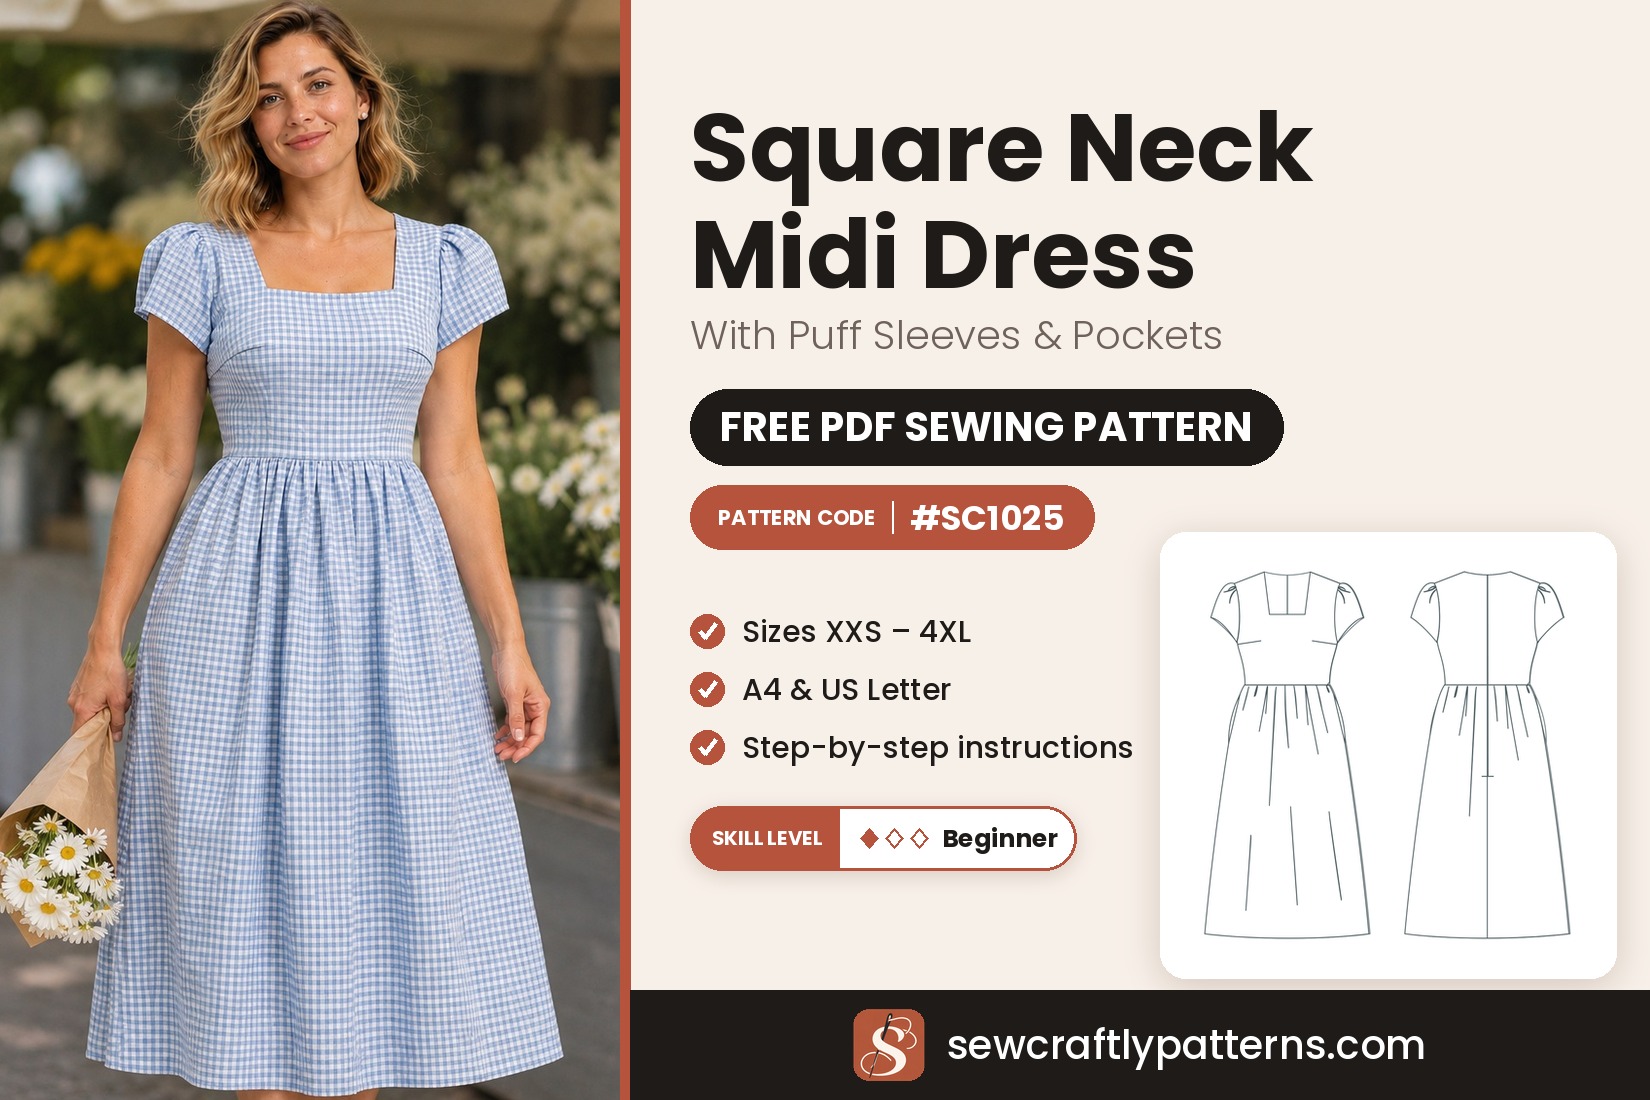
Garment Square neck puff sleeve midi dress
Level Easy · confident beginner
Sizes XXS – 4XL
Fabric Stable knits
Pieces 8
This square neck midi dress is the one you will want to wear all spring and summer: a fitted bodice with a clean square neckline, short puff sleeves gathered at the cap, and a softly gathered skirt that falls to mid-calf. Hidden pockets sit in the side seams, and an invisible zipper closes the back.
This free square neck dress sewing pattern is drafted for stable knits with moderate stretch, like ponte, crepe knit or a heavier viscose jersey. The knit keeps the bodice close and comfortable without fussy fitting. Along the way you will practise side bust darts, a gathered sleeve cap, in-seam pockets, an invisible zipper across a waist seam and a neckline facing with sharp square corners. A gingham print, like the one in our photos, gives it a fresh picnic feel.
Materials
- Main fabric: 2.2 to 2.6 m (2 1/2 to 2 7/8 yd) of 150 cm wide fabric, or 2.5 to 3.4 m (2 3/4 to 3 3/4 yd) of 115 cm wide, depending on your size: ponte di Roma, double knit, crepe knit or a heavier viscose jersey with elastane
- Pocket bags: 0.4 m (1/2 yd) of light knit or cotton lining
- Fusible interfacing: 0.3 m (3/8 yd) for the neck facings
- One invisible zipper, 56 cm (22″), and an invisible zipper foot
- Fusible stay tape or two 2 cm (3/4″) strips of interfacing for the zipper edges
- Polyester thread, a ballpoint or stretch needle, and a twin stretch needle for the hems
Pattern pieces
- 1 Front, main fabric: cut 1, drawn whole, single layer
- 2 Skirt front, main fabric: cut 1, drawn whole, single layer
- 3 Back, main fabric: cut 2 (a mirrored pair)
- 4 Skirt back, main fabric: cut 2 (a mirrored pair)
- 5 Sleeve, main fabric: cut 2 (a mirrored pair)
- 6 Front neck facing, main fabric and interfacing: cut 1 + 1
- 7 Back neck facing, main fabric and interfacing: cut 2 + 2
- 8 Pocket bag, lining: cut 4 (2 pairs)
Place the grainline parallel to the selvedge so the greatest stretch goes around the body. The front and skirt front are drawn whole: cut them from a single layer, not on the fold. Only on 115 cm fabric may the larger skirt fronts be folded at the centre line and cut on the fold.
New to PDF patterns? Start here
Our free step-by-step guides take you from your measurements to a printed pattern:
- How to take your body measurements: what to measure and how, in 10 minutes.
- How to choose your size: which measurement to follow, and what to do between sizes.
- How to print and assemble your pattern: A4 or US Letter, the test box, and taping the pages.
Get the pattern
Free PDF pattern, with one file per size, XXS to 4XL (US 00–22). Share your make with #sewcraftly!
Print page 1 at 100% and check that the test square measures 10 cm (4 in). New to PDF patterns? Read how to print and assemble a PDF pattern.
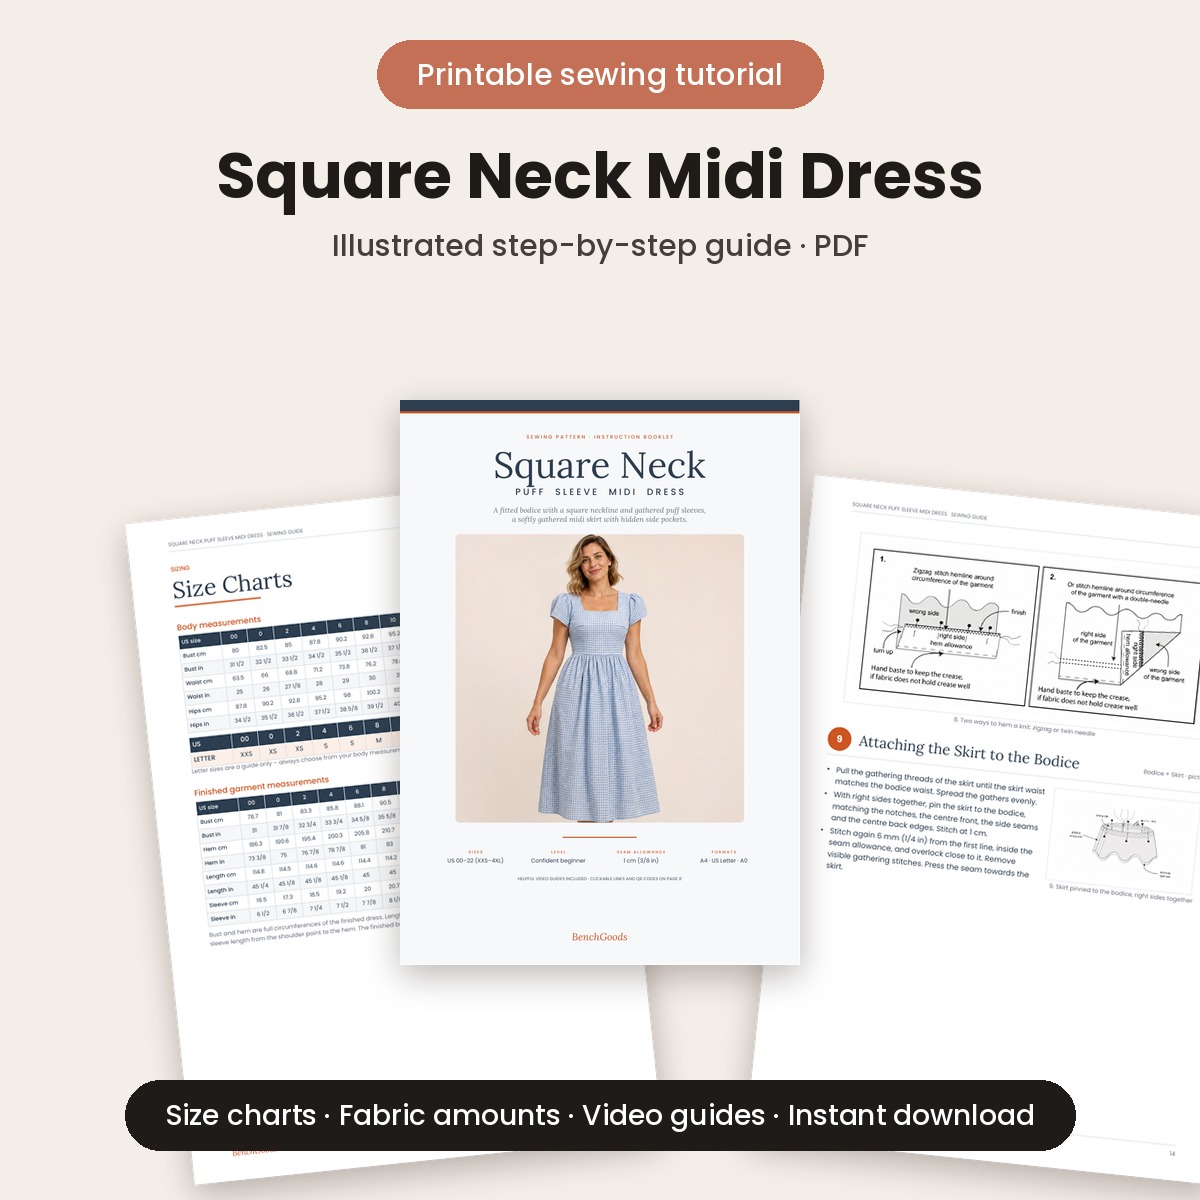
Printable sewing tutorial
Need help completing the project?
Get the full printable tutorial for the Square Neck Puff Sleeve Midi Dress: detailed step-by-step sewing instructions with clear illustrations, line sketches, a sizing guide and the list of materials you need.
- Illustrated diagrams for every step, from the puff sleeves to the invisible zipper
- Size charts, finished measurements and fabric amounts per size
- Video guides for the key techniques, with links and QR codes
- Printable PDF, instant download
Design details and fit of the Square Neck Dress
- Square neckline finished with an interfaced facing
- Side bust darts for a smooth, fitted bodice
- Short puff sleeves, gathered between the cap notches
- Natural waist seam with a gathered A-line midi skirt
- In-seam pockets in both skirt side seams
- Centre back seam with a 56 cm (22″) invisible zipper
The pattern is drafted for a height of 168 cm (5′6″). The bodice has a little negative ease: the finished bust is slightly smaller than the body bust and the knit stretches to fit, so the dress hugs the bust and waist while the skirt stays easy and swingy.
Sizing guide
Choose your size mainly by your bust measurement in the table below. Between two sizes? Take the larger one. Your knit should stretch at least 20 % across: 10 cm of fabric should stretch to 12 cm without effort. Not sure? Read how to choose your size.
Letter sizes: 00/0 = XXS · 2/4 = XS · 6/8 = S · 10/12 = M · 14 = L · 16 = XL · 18 = XXL · 20 = 3XL · 22 = 4XL
Body measurements
| cm | 00 | 0 | 2 | 4 | 6 | 8 | 10 | 12 | 14 | 16 | 18 | 20 | 22 |
|---|---|---|---|---|---|---|---|---|---|---|---|---|---|
| Bust | 80 | 82.5 | 85 | 87.8 | 90.2 | 92.8 | 95.2 | 99.2 | 104.2 | 109.2 | 114.2 | 119.2 | 124.2 |
| Waist | 63.5 | 66 | 68.8 | 71.2 | 73.8 | 76.2 | 78.8 | 82.8 | 87.5 | 93.2 | 99 | 104.8 | 110.5 |
| Hips | 87.8 | 90.2 | 92.8 | 95.2 | 98 | 100.2 | 102.8 | 106.5 | 111 | 115.5 | 120.8 | 125.8 | 130.8 |
Finished garment measurements
| cm | 00 | 0 | 2 | 4 | 6 | 8 | 10 | 12 | 14 | 16 | 18 | 20 | 22 |
|---|---|---|---|---|---|---|---|---|---|---|---|---|---|
| Bust | 78.7 | 81 | 83.3 | 85.8 | 88.1 | 90.5 | 92.9 | 96.7 | 101.4 | 106.2 | 110.9 | 115.7 | 120.3 |
| Hem | 186.3 | 190.6 | 195.4 | 200.3 | 205.8 | 210.7 | 215.5 | 222.3 | 230.1 | 238.7 | 247.6 | 256.7 | 265.2 |
| Length | 114.8 | 114.5 | 114.6 | 114.6 | 114.4 | 114.2 | 114.1 | 114.6 | 114.4 | 114.3 | 114.3 | 114.3 | 114.5 |
| Sleeve | 16.5 | 17.3 | 18.5 | 19.2 | 20 | 20.7 | 21.4 | 22.1 | 22.6 | 22.8 | 23.2 | 23.8 | 24.1 |
Bust and hem are full circumferences of the finished dress. Length is measured at the centre back, from the neckline to the hem; sleeve length from the shoulder point to the hem.
Fabric and notions
| cm | US 00–6 | US 8–14 | US 16–22 |
|---|---|---|---|
| Main fabric, 150 cm wide | 220 | 250 | 260 |
| Main fabric, 115 cm wide | 250 | 290 | 340 |
| Pocket bags (lining) | 40 | 40 | 40 |
| Fusible interfacing, 90 cm wide | 30 | 30 | 30 |
Fabric amounts were calculated by laying out every pattern piece of the largest size in each group, with a little extra for straightening the fabric. Buy a little more for large prints, stripes, checks or one-way designs.
Common fit adjustments
Length. Lengthen or shorten the bodice at the waist seam, and the skirt at the hem. Keep the skirt side seams straight when you change the length.
Bust. Choose by the bust, then compare your waist to the chart: if it is larger, blend out to the next size at the waist of the bodice and skirt.
Sewing notes
Fit & style
The bodice fits close and the skirt is softly gathered. Try the bodice on after the side seams, before you set the sleeves.
Fabrics
Stable knits with moderate stretch and good recovery: ponte, double knit, crepe knit or heavier viscose jersey. Avoid very thin or slippery knits.
Cutting & sewing
Use a ballpoint or stretch needle and a narrow zigzag or an overlocker. Press through a cloth, lifting the iron so the knit does not stretch.
Choosing fabric for a square neck dress
Ponte di Roma or a double knit is the easiest choice: smooth, stable and firm enough to hold the square neckline and the shape of the skirt. A crepe knit or scuba crepe gives a softer drape with a matte finish that looks dressy. For a light summer version, pick a heavier viscose jersey with elastane, which feels cool and moves beautifully.
Do the stretch test before you buy: fold the fabric over 10 cm and pull it gently across the width. It should reach at least 12 cm and spring back. For the pocket bags, a light knit or cotton lining keeps the hips smooth. Pre-wash everything the way you will wash the dress.
Sewing steps
Seam allowance 1 cm (3/8″) unless stated otherwise. Sew with right sides together, using a narrow zigzag (0.5 mm wide, 2.5 to 3 mm long) or an overlocker, and finish the edges with an overlocker or a zigzag.
- Bust darts. On the wrong side of the front (1), fold each side dart right sides together, matching the dart lines. Stitch from the side edge to the dart point, knot the thread tails and press the darts down.
- Shoulders. Pin the front to the backs (3) at the shoulders and stitch. Finish and press open. To stop the shoulders stretching, stitch a strip of stay tape or clear elastic into the seam.
- Bodice side seams. Pin the front to the backs at the sides, matching the notches. Stitch from the underarm to the waist, finish and press open.
- Puff sleeves. On each sleeve (5), sew two rows of long gathering stitches between the EASE notches, 8 mm and 4 mm from the edge. Sew the underarm seam. Pull the bobbin threads to gather the cap, pin the sleeve into the armhole matching underarm seams, notches and the top of the cap to the shoulder, and spread the gathers evenly. Stitch, stitch again 6 mm inside the seam allowance, finish and press toward the bodice. Turn up the 2 cm sleeve hem and stitch with a twin needle or zigzag.
- Skirt centre back. Pin the two skirt backs (4) together at the centre back and stitch from the hem up to the ZIP notch only. Finish and press open, pressing the open part too.
- Gather the skirt. Sew two rows of long gathering stitches along the top edge of the skirt front (2) and each skirt back, 8 mm and 4 mm from the edge. Do not pull them yet.
- Pockets and skirt sides. Sew a pocket bag (8) to each side edge of the skirt front and skirt backs, between the pocket notches. Press the bags away from the skirt and understitch. Pin the skirt front to the back at the sides and stitch down to the pocket, around the pocket bags, then on down to the hem. Finish and press the pockets toward the front.
- Hem the skirt. Finish the lower edge, turn up the 3 cm hem and press. Stitch with a zigzag from the wrong side or a twin needle from the right side, about 2.5 cm from the fold.
- Skirt to bodice. Pull the gathering threads until the skirt waist matches the bodice waist and spread the gathers evenly. Pin right sides together, matching the centre front, side seams and centre back edges. Stitch, stitch again 6 mm inside the seam allowance, finish and press toward the skirt.
- Invisible zipper. Fuse stay tape on the wrong side of both centre back edges. Press the zipper coils flat, then pin one tape face down on one opening edge with the top at the neck edge and the coils on the seamline. Stitch close to the coils with an invisible zipper foot, then do the other side, checking that the waist seams line up. Close the zipper and stitch the rest of the centre back seam down to the ZIP notch.
- Neckline facing. Sew the interfaced front neck facing (6) to the back neck facings (7) at the shoulders and finish the outer edge. Pin the facing to the neckline, folding the ends back 3 mm beyond the zipper teeth, and stitch all around. Trim, cut the square corners diagonally, understitch, turn the facing inside and press. Hand-sew the ends to the zipper tape and tack at the shoulders.
Tips and common mistakes
Sharp square corners. Stitch exactly to the pivot point, pivot with the needle down, then clip diagonally right up to the stitching. Push the corners out gently with a point turner after turning.
Even puff sleeves. Keep all the gathers between the EASE notches and spread them evenly before stitching. Sew with the sleeve on top so you can see the gathers and avoid tucks.
Wavy zipper? Always stabilise the knit along the zipper opening with stay tape or interfacing strips before you set the zipper.
Matching checks. With gingham, line up the bodice and skirt pieces on the same check at the waist notches before cutting, and buy a little extra fabric.
How to style the Square Neck Dress
Weekend: with white sneakers and a denim jacket.
Summer: with strappy sandals and a straw bag for markets and picnics.
Autumn: with ankle boots, tights and a cropped cardigan, or a fitted blazer on top.
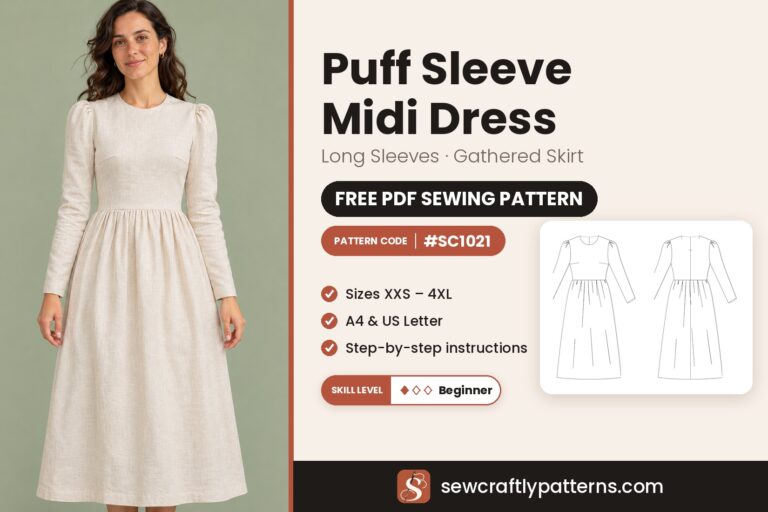
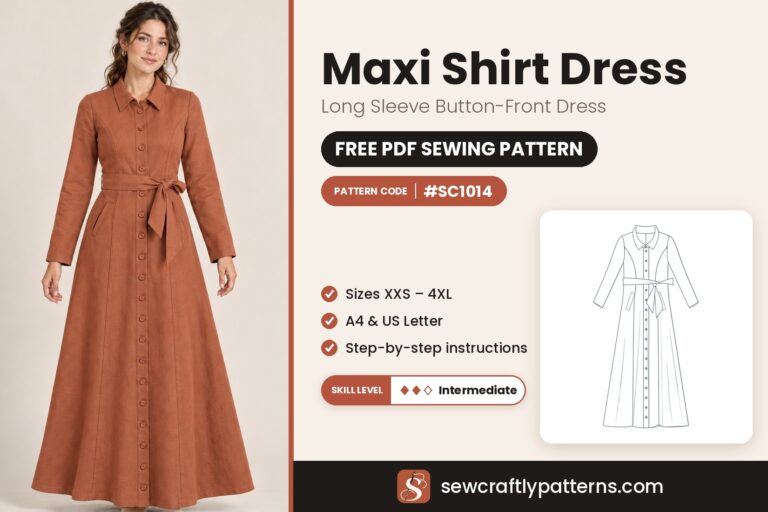
More dresses to sew: for a woven version with a fuller look, try our puff sleeve midi dress sewing pattern, or the maxi shirt dress sewing pattern for a button-front style.
Care
Machine wash cold on a gentle cycle, inside out with the zipper closed. Dry flat or hang to dry; do not tumble dry. Iron at medium heat through a pressing cloth.
Want a longer summer dress? Our free spaghetti strap dress sewing pattern is an ankle-length slip dress with narrow straps and a fully lined bodice.
Questions
Is seam allowance included?
Yes: 1 cm (3/8″) on all seams, a 3 cm (1 1/8″) hem allowance on the skirt and 2 cm (3/4″) on the sleeves.
Which paper sizes are included?
The free download comes in A4 and US Letter, as a printable PDF with one file per size, XXS to 4XL (US 00–22).
Which size should I choose?
Choose mainly by your bust measurement. If you are between sizes, take the larger one.
Can I use a woven fabric?
The pattern is drafted for stable knits with at least 20 % stretch across. In a woven without stretch the bodice would be too tight, because it has negative ease.
How much fabric do I need?
About 2.2 to 2.6 m of 150 cm wide fabric, or 2.5 to 3.4 m of 115 cm wide, plus 0.4 m of lining for the pocket bags. See the fabric table above.
Do I need an invisible zipper foot?
It makes the zipper much easier and neater. If you only have a regular zipper foot, sew slowly as close to the coils as you can.
Can I sew it without an overlocker?
Yes. A narrow zigzag works for every seam, with a ballpoint or stretch needle, and a twin needle or zigzag for the hems.
Is this dress good for beginners?
Yes, for a confident beginner. The gathered sleeve cap and the invisible zipper ask for a little patience; everything else is straightforward.
Happy sewing!
Love our free patterns? Buy us a coffee to keep them coming, or simply share, pin and comment. Thank you!
 Support me on Ko-fi