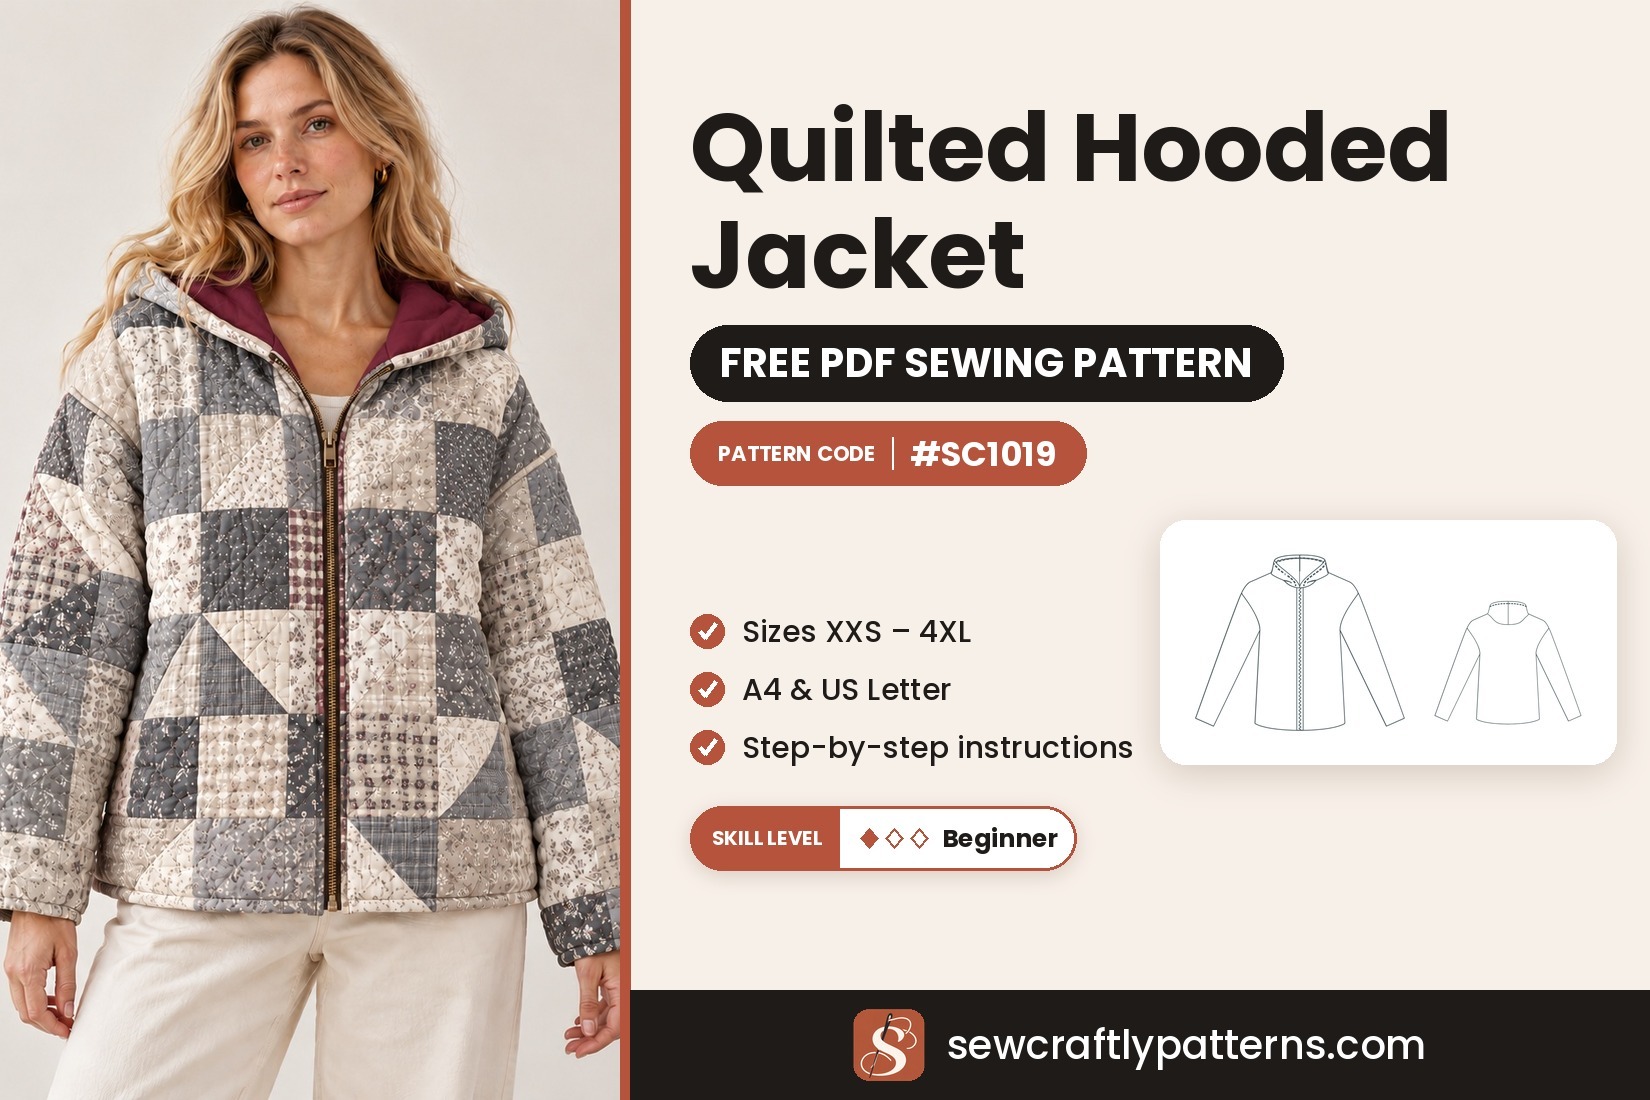
Garment Quilted hooded zip-front jacket
Level Easy (confident beginner)
Sizes XXS – 4XL
Fabric Pre-quilted cotton / vintage quilt
Pieces 4
This is a relaxed, boxy quilted jacket with a lined hood, a long exposed zipper and roomy dropped sleeves. It has only four pattern pieces and is made for pre-quilted fabric, so it is a lovely way to turn a patchwork quilt, a vintage quilt or pre-quilted cotton into a cosy jacket. The hood is lined in a plain contrast fabric that shows a pop of colour when it is down.
This free quilted hooded jacket sewing pattern is for the sewist who wants a warm, easy-to-wear layer without a complicated fit. The shape is simple: a boxy body with dropped shoulders, long sleeves that are wide enough for a sweater underneath, and a straight hem at hip length. The exposed metal zipper is the style feature, and the two-piece hood crosses over at the front to make a neat V at the neck. Every step is explained in order, and the trickiest parts (the zipper and the hood) are pointed out so you can read them before you start.
Materials
- Main fabric: 1.3 to 1.6 m (1 1/2 to 1 3/4 yd) of 150 cm wide pre-quilted fabric, 3–5 mm (about 1/8–3/16″) thick: patchwork-print quilted cotton, quilted double gauze or quilted linen. A clean vintage quilt cut like yardage also works
- Hood lining: 0.5 m (5/8 yd) of cotton lawn, quilting cotton, chambray or brushed cotton flannel in a plain contrast colour
- Zipper: 1 metal separating (open-end) zipper with about 10 mm teeth (#5): 55 cm (22″) for sizes 00–14, 61 cm (24″) for sizes 16–22. Shorten it from the top if needed
- Bias tape: 12 mm (1/2″) double-fold cotton, about 6 to 7 m (6 5/8 to 7 3/4 yd), for the seams, neckline and hems. Or use an overlocker
- Strong polyester thread, a walking foot, a 90/14 needle, sewing clips, chalk and a pressing cloth
No interfacing is needed. Large patchwork blocks may need extra fabric for matching across the front.
Pattern pieces
- Front: cut 2 (a mirrored pair)
- Back: cut 1, in a single layer, opened flat (the centre back line is marked, it is not a fold)
- Sleeve: cut 2 (a mirrored pair)
- Hood: cut 2 from the quilted fabric (outer) and 2 from the lining fabric (a mirrored pair each)
Quilted fabric is too thick to cut folded accurately, so cut every piece in a single layer, right side up. For pairs, cut the first piece, then turn the paper over to cut the second. The pattern sheet says “cut 4” for the hood; you can cut all four from the quilted fabric, but a thinner lining gives a softer, less bulky hood.
New to PDF patterns? Start here
Our free step-by-step guides take you from your measurements to a printed pattern:
- How to take your body measurements: what to measure and how, in 10 minutes.
- How to choose your size: which measurement to follow, and what to do between sizes.
- How to print and assemble your pattern: A4 or US Letter, the test box, and taping the pages.
Get the pattern
Free PDF pattern in A4 and US Letter, with one file per size, XXS to 4XL (US 00–22). Share your make with #sewcraftly!
Print page 1 at 100% and check that the test square measures 10 cm (4 in). New to PDF patterns? Read how to print and assemble a PDF pattern.
Printable sewing tutorial
Need help completing the project?
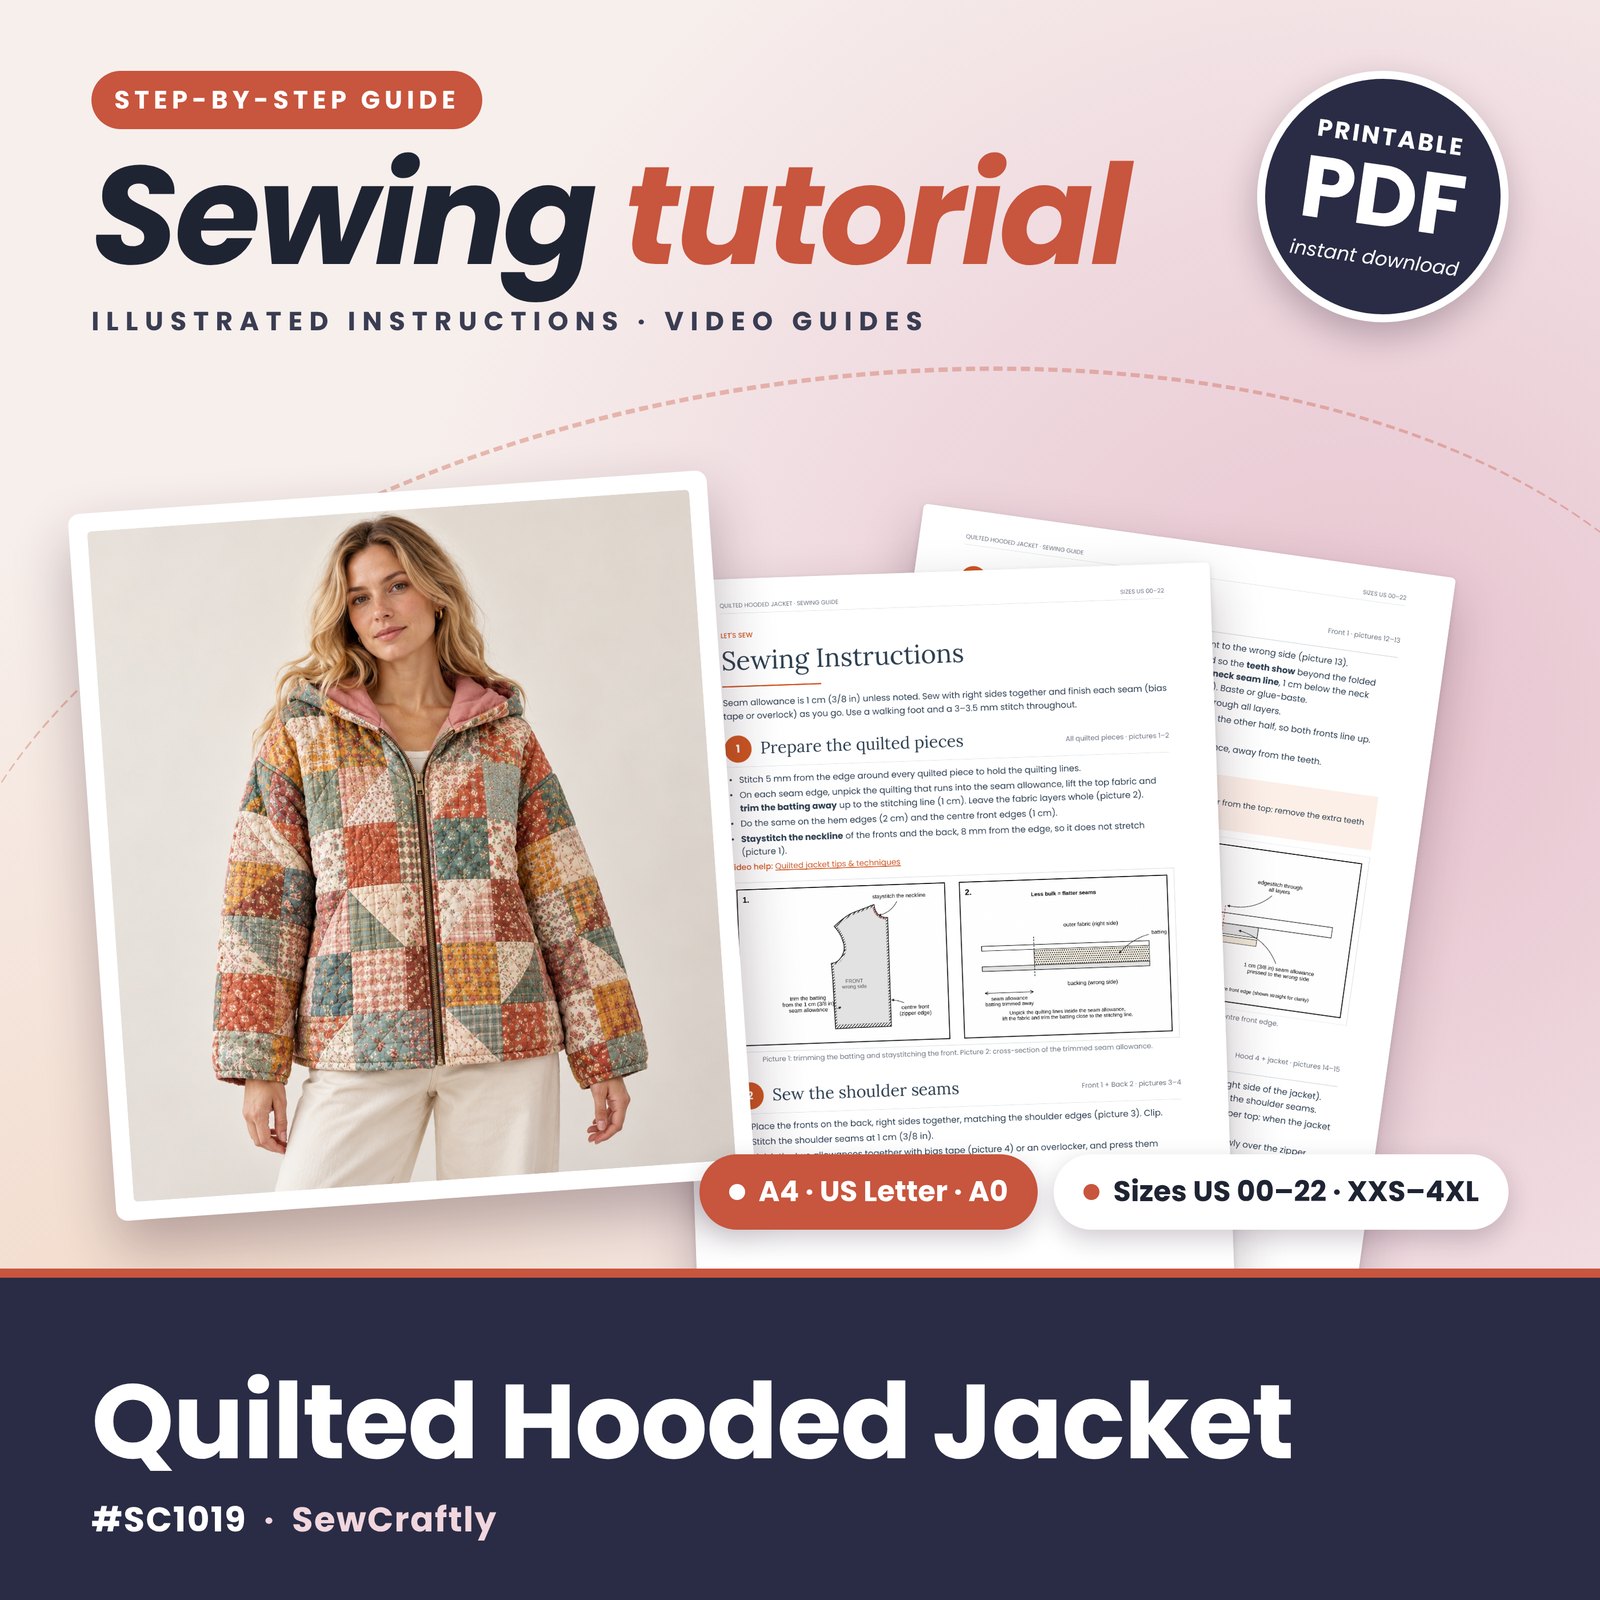
Get the full printable tutorial for the Quilted Hooded Jacket: detailed step-by-step sewing instructions with clear illustrations, line sketches, a sizing guide and the list of materials you need.
- Illustrated diagrams for every step, from trimming the batting to the exposed zipper
- Size charts, finished measurements and fabric amounts per size
- Video guides for the key techniques, with links and QR codes
- Printable PDF, instant download
Design details and fit of the quilted hooded jacket
This is a boxy, relaxed jacket with about 16 cm (6 1/4″) of ease at the waist, dropped shoulders and long, roomy sleeves. The back length is about 57–60 cm (22 1/2–23 5/8″) depending on the size, which puts the straight hem at the hip. Quilted fabric is thick: if yours is more than 5 mm (3/16″) thick, or you want to wear the jacket over a warm sweater, choose one size up.
The construction is kept simple on purpose. The jacket is made from a front, a back, a sleeve and a hood, with one continuous seam from the sleeve hem to the body hem on each side. A metal separating zipper runs from the neckline to the hem and is left exposed, with the teeth showing. The two-piece hood is fully lined in a soft contrast fabric, and its ends cross over the top of the zipper to give a neat V at the neck. Inside, the seams are bound with bias tape, or overlocked, so the jacket looks clean from both sides.
The pattern is drafted for a height of 168 cm (5′6″). To lengthen or shorten the jacket, add or remove the same amount at the hem of the front and back and at the sleeve hem, and change the zipper length by the same amount.
Difficulty and sewing time
The jacket is rated easy and suits a confident beginner: there are no buttonholes, no collar and no set-in lining for the body, and only four pattern pieces to cut. The parts that need a little patience are the exposed zipper and the hood with its crossed ends, so baste those first and take your time. Allow a weekend for the whole jacket, plus an evening for printing, taping and cutting.
Sizing guide
Drafted for a height of 168 cm (5′6″). The jacket is boxy, with about 16 cm of ease at the waist. Choose your size from your bust and hip measurements, not from a ready-to-wear label; if you are between sizes, take the larger one. Not sure? Read how to choose your size.
Letter sizes: 00/0 = XXS · 2/4 = XS · 6/8 = S · 10/12 = M · 14 = L · 16 = XL · 18 = XXL · 20 = 3XL · 22 = 4XL
Body measurements
| cm | 00 | 0 | 2 | 4 | 6 | 8 | 10 | 12 | 14 | 16 | 18 | 20 | 22 |
|---|---|---|---|---|---|---|---|---|---|---|---|---|---|
| Bust | 80 | 82.5 | 85 | 87.8 | 90.2 | 92.8 | 95.2 | 99.2 | 104.2 | 109.2 | 114.2 | 119.2 | 124.2 |
| Waist | 63.5 | 66 | 68.8 | 71.2 | 73.8 | 76.2 | 78.8 | 82.8 | 87.5 | 93.2 | 99 | 104.8 | 110.5 |
| Hips | 87.8 | 90.2 | 92.8 | 95.2 | 98 | 100.2 | 102.8 | 106.5 | 111 | 115.5 | 120.8 | 125.8 | 130.8 |
Finished garment measurements
| cm | 00 | 0 | 2 | 4 | 6 | 8 | 10 | 12 | 14 | 16 | 18 | 20 | 22 |
|---|---|---|---|---|---|---|---|---|---|---|---|---|---|
| Waist | 99 | 101 | 102 | 104 | 107 | 109 | 112 | 115 | 120 | 124 | 129 | 134 | 138 |
| Hem | 96 | 98 | 100 | 102 | 105 | 107 | 110 | 114 | 118 | 123 | 128 | 133 | 138 |
| Back length | 57 | 58 | 58 | 58 | 58 | 58 | 58 | 59 | 59 | 59 | 60 | 60 | 60 |
| Sleeve length | 47 | 48 | 48 | 48 | 48 | 48 | 48 | 48 | 48 | 48 | 48 | 48 | 48 |
| Upper arm | 40 | 41 | 41 | 42 | 42 | 43 | 44 | 46 | 47 | 48 | 50 | 51 | 52 |
| Sleeve opening | 23 | 23 | 24 | 24 | 25 | 26 | 26 | 27 | 27 | 28 | 29 | 29 | 29 |
Measured on the finished jacket, flat, seam line to seam line. Back length is from the neck seam at centre back to the hem. Upper arm and sleeve opening are measured across the flat sleeve.
Fabric requirements
| cm | 00–6 | 8–14 | 16–22 |
|---|---|---|---|
| Quilted fabric, 150 cm wide | 130 | 150 | 160 |
| Quilted fabric, 115 cm wide | 180 | 190 | 200 |
| Hood lining, 115–150 cm wide | 50 | 50 | 50 |
All pieces laid out with the grain straight and pairs mirrored, plus 8 % for shrinkage and matching. The quilted amount covers the front, back, sleeves and the two outer hood pieces. If you also cut the hood lining from the quilted fabric, add 0.5 m (5/8 yd).
Common fit adjustments
Body length. Add or remove the same amount at the hem of the front and back, and change the zipper length by the same amount.
Sleeve length. Measure from your shoulder point to your wrist and compare it with the finished sleeve length above. Change the sleeve at its hem.
Size and thickness. Choose by bust and hips, as explained in how to choose your sewing pattern size, and measure carefully first with how to take your body measurements. With thick quilting or a bulky sweater underneath, go one size up.
Sewing notes
Fit & style
Pick your size by bust and hips. The jacket is boxy, so choose one size up only if your fabric is thick or you will wear a warm sweater under it.
Fabrics
Pre-quilted cotton, 3–5 mm thick, in a patchwork print or plain. Quilted double gauze or quilted linen gives a lighter, softer jacket.
Cutting & sewing
Transfer every marking, test a seam on a scrap, and use a walking foot with a 3–3.5 mm stitch. Hold the layers with clips rather than pins.
Sewing with quilted fabric
Quilted fabric behaves differently from a plain woven, and a few habits make the jacket much easier. Use a walking foot (an even-feed foot) so the layers do not shift, and a long stitch of 3–3.5 mm with a 90/14 needle. Clips are better than pins: pins get lost in the batting and can distort the quilting. Sew a sample seam through two layers of your fabric first, so you can check the stitch length and how your seam finish looks.
Trim the batting out of every seam allowance, as in step 1 below: the seams lie flatter and the bias tape goes on more easily. Press through a pressing cloth with steam, without pushing down hard, so you do not flatten the quilting. If you are using a vintage quilt, check that it is clean and that the quilting is secure before you cut, and cut it like yardage, in a single layer.
Sewing steps
Seam allowance is 1 cm (3/8″) unless stated otherwise. Sew with right sides together and finish each seam (bias tape or overlock) as you go. Use a walking foot and a 3–3.5 mm stitch throughout.
- Prepare the quilted pieces. Stitch 5 mm from the edge around every quilted piece to hold the quilting lines. On each seam edge, unpick the quilting that runs into the seam allowance, lift the top fabric and trim the batting away up to the stitching line (1 cm), leaving the fabric layers whole. Do the same on the hem edges (2 cm) and the centre front edges (1 cm). Staystitch the neckline of the fronts and the back 8 mm from the edge so it does not stretch.
- Shoulder seams. Place the fronts on the back, right sides together, matching the shoulder edges, and clip. Stitch at 1 cm (3/8″). Finish the two allowances together with bias tape or an overlocker, and press them toward the back.
- Set in the sleeves. Open the jacket flat, right side up. Place a sleeve on the armhole, right sides together: single notch to the front, double notch to the back and the top notch to the shoulder seam. Clip from the centre outward, easing the sleeve cap evenly, and sew with the sleeve on top at 1 cm (3/8″). Finish the allowances together and press them toward the sleeve. Repeat for the second sleeve.
- Side and sleeve seams. Fold the jacket right sides together at the shoulders. Match the sleeve edges, the underarm seams and the side notches. Sew one continuous seam from the sleeve hem, through the underarm, to the body hem. Finish the allowances together and press them toward the back.
- Hem the sleeves. Finish the raw edge of each sleeve hem with bias tape or an overlocker. Fold the hem 2 cm (3/4″) to the wrong side along the hem fold line, clip, and topstitch from the right side 1.5 cm (5/8″) from the fold.
- Hem the body. Finish the raw hem edge of the fronts and back. Fold the hem 2 cm (3/4″) to the wrong side, all the way to the centre front edges, and topstitch 1.5 cm (5/8″) from the fold. Leave the centre front edges unfolded for now: they are finished with the zipper in step 9.
- Hood centre seams. Place the two outer hood pieces right sides together. Match the notches on the curved edge and sew the centre seam, from the neck edge over the top to the front edge. Clip or notch the curve every 2 cm, press the seam open (or to one side) and topstitch it if you like. Sew the two hood lining pieces the same way.
- Line the hood. Turn the lining wrong side out and slip the outer hood (right side out) inside it, so the right sides are together, matching the centre seams and the front edges. Sew the front edge at 1 cm (3/8″) and trim the allowance to 6 mm. Turn the hood right side out, understitch the allowance to the lining, and press so the lining rolls slightly to the inside. Topstitch the front edge 7 mm (1/4″) from the edge, then baste the neck edges of the outer hood and lining together, 6 mm from the edge, matching the notches.
- Insert the exposed zipper. Press the 1 cm (3/8″) centre front allowance of each front to the wrong side. Separate the zipper and place one half under the left front fold, so the teeth show beyond the folded edge (about 5 mm on each side). The top stop sits at the neck seam line, 1 cm below the neck edge, and the bottom stop at the finished hem. Baste or glue-baste, then edgestitch 3 mm (1/8″) from the fold through all layers with a zipper foot. Close the zipper and mark the side notches and the hem on the other half so both fronts line up, open it and sew the second half the same way. Fold the top ends of the zipper tape toward the seam allowance, away from the teeth.
- Attach the hood. Pin the hood to the neckline, right sides together, with the outer hood against the right side of the jacket. Match the hood centre seam to the centre back mark and the hood neck notches to the shoulder seams. The hood ends reach about 3 cm (1 1/8″) past the centre front, over the zipper top, so they cross at the front when the jacket is closed. Sew at 1 cm (3/8″) through all layers, including the zipper tape ends, going slowly over the zipper. Wrap the neck allowances in bias tape, press them down toward the jacket and tack them at the shoulder seams and centre back.
- Final press. Remove any visible basting and press the whole jacket from the inside through a pressing cloth, with steam and light pressure. Check that the zipper runs smoothly and the hood ends sit evenly at the front.
Tips and common mistakes
Trim the batting properly. Take the batting out of every seam allowance, hem and centre front edge before you sew. Bulky seams are the number one reason a quilted jacket looks lumpy.
Baste the zipper first. Mark the hem and the side notches on both halves so the two fronts line up, and baste or glue-baste before you stitch. If the zipper is too long, shorten it from the top by removing the extra teeth with pliers and moving the top stops down.
Go slowly at the hood ends. They cross over the zipper top, so there are several layers there. Use a long stitch, sew slowly and hand-turn the wheel if you need to.
Match the patchwork at the front. With a printed or patchwork fabric, place the blocks so they line up across the centre front before you cut.
How to style the quilted hooded jacket
Everyday: with wide-leg cream trousers and a white tee, as in the photo. The wide leg pants sewing pattern is a good match.
Cooler days: over a knit dress with boots. Wear the hood down to show the contrast lining.
Make it your own: for a reversible-look version, sew a plain quilted fabric with a printed lining. If you would like a warmer, longer layer next, try the hooded coat sewing pattern.
Care
Wash cool (30 °C / 86 °F) on a gentle cycle, inside out with the zipper closed. Dry flat or tumble dry low, which keeps the quilting loftier. Press on the inside through a cloth, with light pressure.
Questions
Is seam allowance included?
Yes: 1 cm (3/8″) on every edge. The body and sleeve hems are 2 cm (3/4″), and the centre front edges have 1 cm that folds under for the exposed zipper.
Which paper sizes are included?
The free download comes in A4 and US Letter, with one file per size, XXS to 4XL (US 00–22).
Can I use an old quilt?
Yes, the pattern is made for it. Check that the quilt is clean and that the quilting is secure, then cut the pieces from it like yardage, in a single layer. Large patchwork blocks may need extra fabric so you can match them across the front.
Is the jacket lined?
The hood is fully lined in a contrast fabric. The body is not lined: the seams are bound with bias tape (or overlocked), so the inside stays neat.
What zipper do I need?
One metal separating (open-end) zipper with about 10 mm teeth (#5): 55 cm (22″) for sizes 00–14 and 61 cm (24″) for sizes 16–22. If it is too long, shorten it from the top.
What size should I make if I want to wear a thick sweater underneath?
The jacket is already boxy, with about 16 cm of ease at the waist. If your quilted fabric is more than 5 mm thick, or you want to wear it over a warm sweater, choose one size up.
How do I make the jacket longer or shorter?
Add or remove the same amount at the hem of the front and back and at the sleeve hem, and change the zipper length by the same amount.
Happy sewing!
Love our free patterns? Buy us a coffee to keep them coming, or simply share, pin and comment. Thank you!
 Support me on Ko-fi