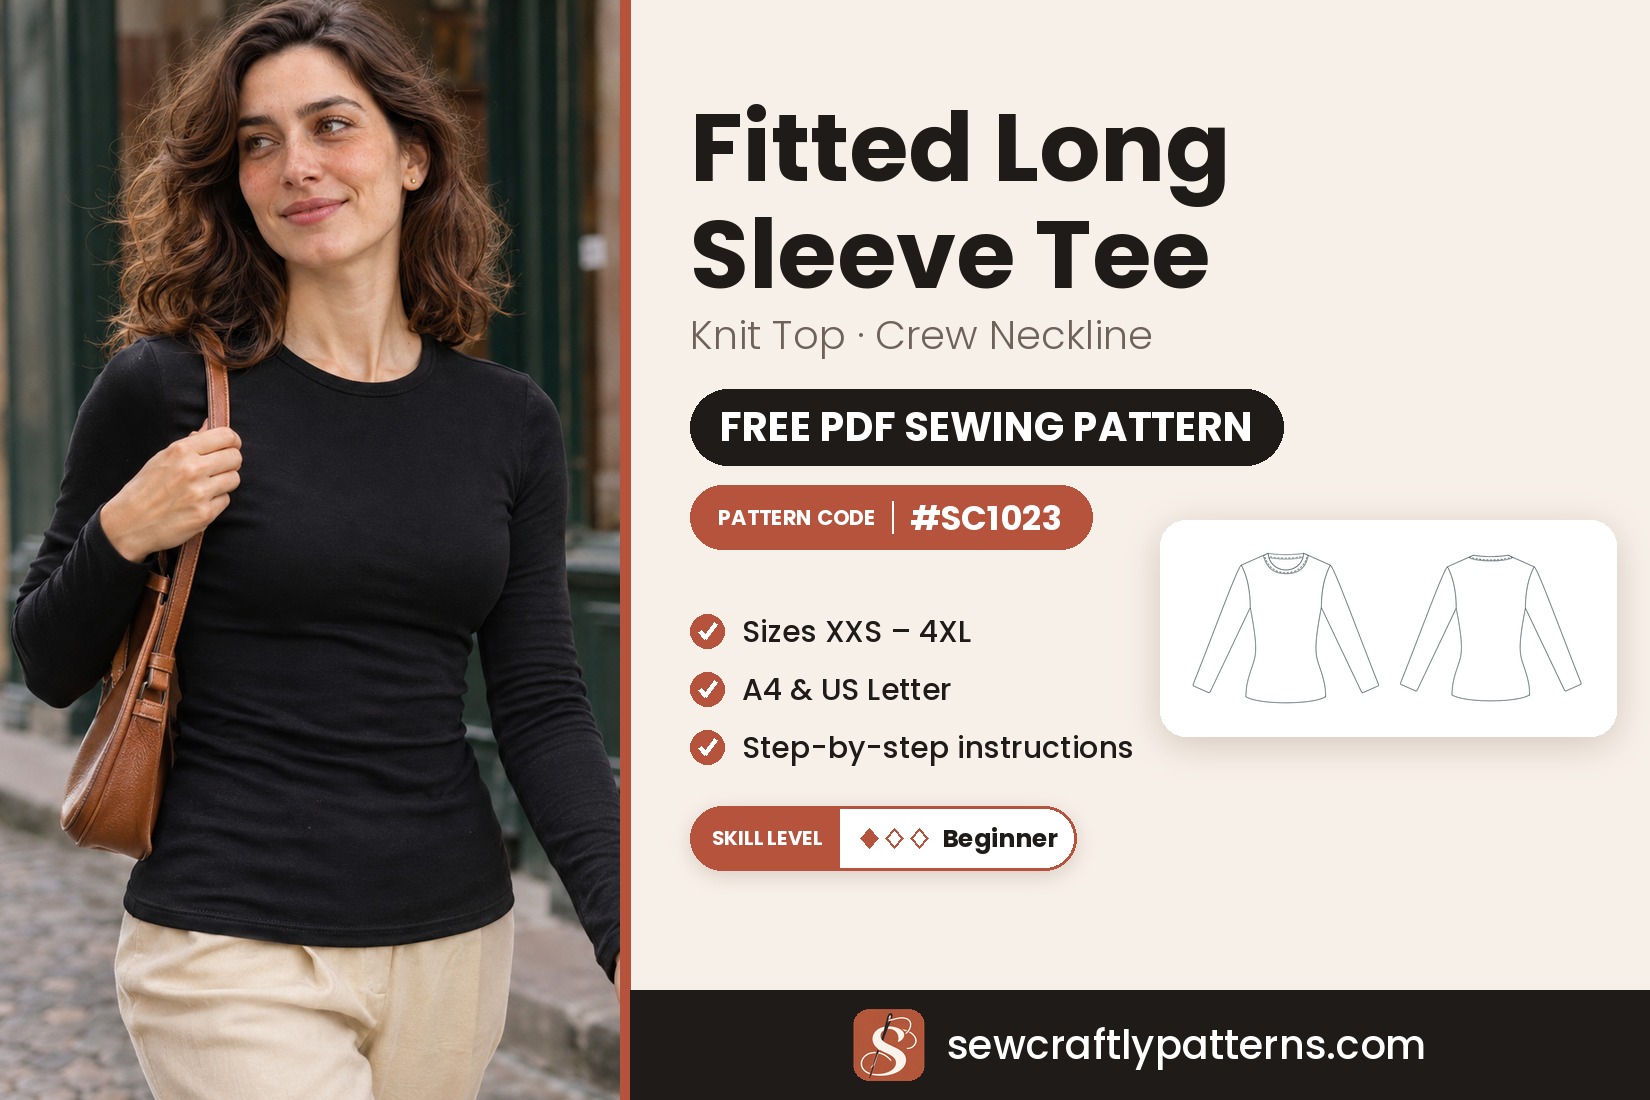
Garment Fitted long sleeve knit top
Level Easy · confident beginner
Sizes XXS – 4XL
Fabric Stretch knit (jersey, rib, interlock)
Pieces 4
The Fitted Long Sleeve Tee is the basic top you end up wearing all the time: close to the body, smooth over the bust, gently shaped at the waist, with a neat bound crew neckline and full-length sleeves. It works on its own with jeans, tucked into a skirt, or as a warm layer under a pinafore or an open shirt.
This free long sleeve tee sewing pattern is drafted for stretch knits with a little negative ease, so it hugs without pulling. With only four pieces (front, back, sleeve and neck binding) it is a quick sew, and a great first knit project: you will practise a knit binding, sleeves sewn in flat and a twin-needle hem. You can sew it on an overlocker or on a regular sewing machine with a narrow zigzag.
Materials
- Main fabric: 1.2 to 1.5 m (1 3/8 to 1 3/4 yd) of 150 cm wide stretch knit, or 1.4 to 1.7 m (1 5/8 to 1 7/8 yd) of 115 cm wide, depending on your size: cotton-elastane jersey, viscose, modal or bamboo jersey, fine rib knit or interlock (see the fabric table below)
- Matching polyester thread (2 spools for a twin needle, or 3 to 4 cones for an overlocker)
- A ballpoint or stretch needle, size 75 to 90, and optionally a 4 mm stretch twin needle for the hems
- Optional: 1 cm (3/8″) fusible stay tape or clear elastic to stabilise the shoulders
- Ballpoint pins or sewing clips, and chalk or a washable marker
Pattern pieces
- 1 Front, main fabric: cut 1, single layer
- 2 Back, main fabric: cut 1, single layer
- 3 Sleeve, main fabric: cut 2 (a mirrored pair)
- 4 Neck binding, main fabric: cut 1, with the length across the fabric (the direction of greatest stretch)
The front and the back are printed whole, with the centre line marked: cut them from a single layer, not on the fold, with the grain arrow parallel to the lengthwise ribs of the knit. No lining and no interfacing are needed.
New to PDF patterns? Start here
Our free step-by-step guides take you from your measurements to a printed pattern:
- How to take your body measurements: what to measure and how, in 10 minutes.
- How to choose your size: which measurement to follow, and what to do between sizes.
- How to print and assemble your pattern: A4 or US Letter, the test box, and taping the pages.
Get the pattern
Free PDF pattern, with one file per size, XXS to 4XL (US 00–22). Share your make with #sewcraftly!
Print page 1 at 100% and check that the test square measures 10 cm (4 in). New to PDF patterns? Read how to print and assemble a PDF pattern.
Printable sewing tutorial
Need help completing the project?
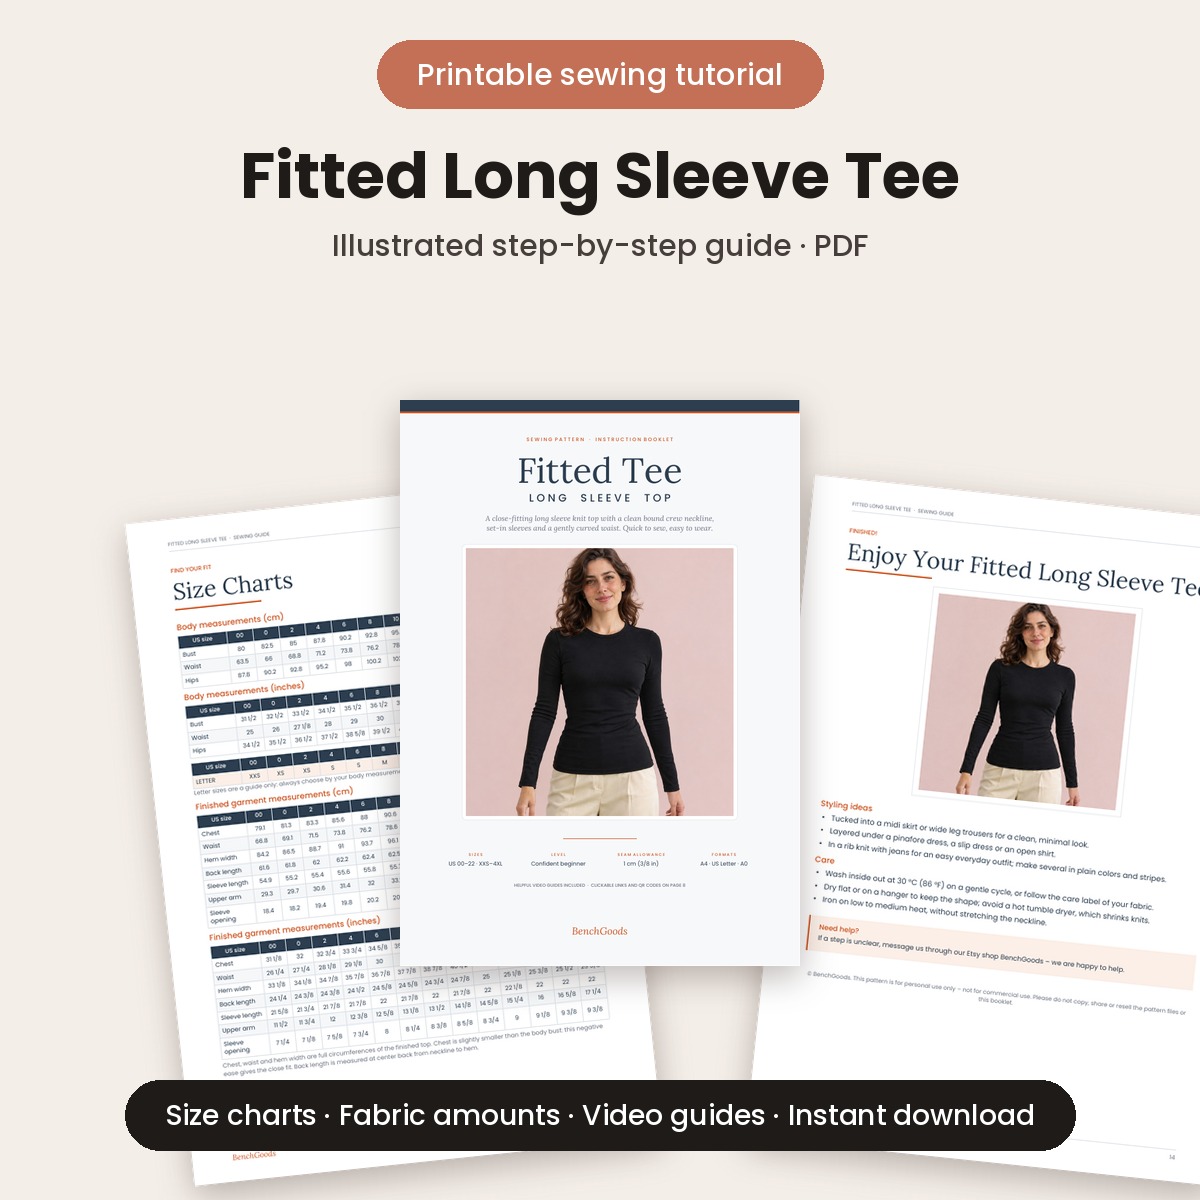
Get the full printable tutorial for the Fitted Long Sleeve Tee: detailed step-by-step sewing instructions with clear illustrations, line sketches, a sizing guide and the list of materials you need.
- Illustrated diagrams for every step, from the neck binding to the twin-needle hem
- Size charts, finished measurements and fabric amounts per size
- Video guides for the key knit techniques, with links and QR codes
- Printable PDF, instant download
Design details and fit of the Fitted Long Sleeve Tee
- Close fit with slight negative ease, drafted for knits with at least 30 % stretch
- Round crew neckline finished with a 1 cm (3/8″) enclosed binding, edgestitched
- Full-length fitted set-in sleeves, sewn in flat before the side seams
- Gently curved side seams for a shaped waist, slightly longer at the back
- Body and sleeve hems turned up 2 cm (3/4″) and stitched with a twin needle or a zigzag
The pattern is drafted for a height of 168 cm (5′6″). The finished chest is about 1 to 2 cm smaller than the body bust: this negative ease is what gives the smooth, close fit, so the knit you choose matters. Read the neckline binding step once before you start, it is the only part that asks for a little care.
Sizing guide
Drafted for a height of 168 cm (5′6″). Choose your size by your bust measurement in the table below. Between two sizes, choose the larger one for a softer fit, or if your knit has little stretch. Not sure? Read how to choose your size.
Letter sizes: 00/0 = XXS · 2/4 = XS · 6/8 = S · 10/12 = M · 14 = L · 16 = XL · 18 = XXL · 20 = 3XL · 22 = 4XL
Body measurements
| cm | 00 | 0 | 2 | 4 | 6 | 8 | 10 | 12 | 14 | 16 | 18 | 20 | 22 |
|---|---|---|---|---|---|---|---|---|---|---|---|---|---|
| Bust | 80 | 82.5 | 85 | 87.8 | 90.2 | 92.8 | 95.2 | 99.2 | 104.2 | 109.2 | 114.2 | 119.2 | 124.2 |
| Waist | 63.5 | 66 | 68.8 | 71.2 | 73.8 | 76.2 | 78.8 | 82.8 | 87.5 | 93.2 | 99 | 104.8 | 110.5 |
| Hips | 87.8 | 90.2 | 92.8 | 95.2 | 98 | 100.2 | 102.8 | 106.5 | 111 | 115.5 | 120.8 | 125.8 | 130.8 |
Finished garment measurements
| cm | 00 | 0 | 2 | 4 | 6 | 8 | 10 | 12 | 14 | 16 | 18 | 20 | 22 |
|---|---|---|---|---|---|---|---|---|---|---|---|---|---|
| Chest | 79.1 | 81.3 | 83.3 | 85.6 | 88 | 90.6 | 93.3 | 97.5 | 102.8 | 108.2 | 113.5 | 119 | 124 |
| Waist | 66.8 | 69.1 | 71.5 | 73.8 | 76.2 | 78.6 | 81.1 | 85 | 89.7 | 94.9 | 100.4 | 105.9 | 111.2 |
| Hem width | 84.2 | 86.5 | 88.7 | 91 | 93.7 | 96.1 | 98.8 | 102.9 | 107.9 | 113 | 118.8 | 124.6 | 129.7 |
| Back length | 61.6 | 61.8 | 62 | 62.2 | 62.4 | 62.5 | 62.8 | 63.1 | 63.4 | 63.8 | 64.3 | 64.7 | 65.2 |
| Sleeve length | 54.9 | 55.2 | 55.4 | 55.6 | 55.8 | 55.7 | 55.8 | 55.7 | 56 | 56.2 | 55.9 | 55.7 | 55.7 |
| Upper arm | 29.3 | 29.7 | 30.6 | 31.4 | 32 | 33.2 | 34.2 | 35.8 | 37.3 | 38.8 | 40.6 | 42.2 | 43.9 |
| Sleeve opening | 18.4 | 18.2 | 19.4 | 19.8 | 20.2 | 20.9 | 21.3 | 21.8 | 22.2 | 22.8 | 23.3 | 23.7 | 23.9 |
Chest, waist and hem width are full circumferences of the finished top. The chest is slightly smaller than the body bust: this negative ease gives the close fit. Back length is measured at the centre back, from the neckline to the hem.
Fabric requirements
| cm | US 00–6 | US 8–14 | US 16–22 |
|---|---|---|---|
| Main fabric, 150 cm wide | 120 | 130 | 150 |
| Main fabric, 115 cm wide | 140 | 150 | 170 |
Estimated by laying out the pattern pieces of every size on the fabric width, plus 8 % for shrinkage and straightening, rounded up. Allow extra for stripes or a one-way print, and pre-wash your knit the way you will wash the top: knits often shrink in length.
Common fit adjustments
Length. Lengthen or shorten the front and the back by the same amount between the waist notch and the hem, and the sleeve between the elbow and the hem, keeping the side lines smooth.
Fabric stretch. Your knit should stretch at least 30 % across the width: 10 cm of fabric should stretch to 13 cm and spring back. With a firmer knit, go up a size; with a very stretchy rib, you can stay in your size or go down one.
Sewing notes
Fit & style
Choose by the bust: the top is close-fitting with slight negative ease. Try it on after the side seams and take them in or let them out a little if needed.
Fabrics
Light to medium-weight knits (about 160 to 240 g/m²) with good recovery: cotton-elastane jersey, viscose or modal jersey, fine rib or interlock. Wovens are not suitable.
Cutting & sewing
Use a ballpoint or stretch needle and let the machine feed the fabric without pulling it. Test your stitch and the twin-needle hem on a scrap first.
Choosing fabric for a long sleeve tee
A cotton-elastane jersey with about 5 % elastane is the classic choice: it is stable, easy to cut and sew, and keeps its shape after washing. Viscose, modal and bamboo jerseys are softer and drapier, perfect for a top that feels silky against the skin, but they are a little more slippery to handle. A fine rib knit or an interlock gives a smoother, sporty look, and a rib in a plain colour, like the black one in our photos, makes a top you will wear with everything.
Check the stretch before you buy: fold the fabric over 10 cm and pull it gently across the width. It should reach at least 13 cm and come back without staying stretched. Sew with a ballpoint or stretch needle, size 75 to 90, and polyester thread, which has a little give.
Sewing steps
Seam allowance 1 cm (3/8″) unless stated otherwise. Sew knit seams with an overlocker, or with a narrow zigzag (width 0.5 to 1 mm, length 2.5 mm) or a stretch stitch and then finish the edges together. Press each seam as you go, lifting the iron instead of sliding it.
- Prepare. Snip the notches (2 to 3 mm only) and mark the centre front, centre back and shoulder notches and the FOLD line on the neck binding (4). Optional: press a strip of fusible stay tape, or place clear elastic, over the shoulder seam line of the back (2), on the wrong side, so the shoulders do not stretch.
- Sew the shoulders. Pin the front (1) to the back (2) at the shoulders, right sides together, matching the neck and armhole edges. Stitch 1 cm from the edge and press the seam allowances toward the back.
- Prepare the neck binding. Sew the two short ends of the binding right sides together, 1 cm from the edge, to form a loop, and press the seam open. On the wrong side, press both long edges 1 cm to the wrong side along the stitching lines, then press the binding in half along the FOLD line. Open it out again: the creases are your guides.
- Attach the binding. Open one long edge of the binding and place it right side down on the right side of the top, raw edge along the raw edge of the neckline. Put the binding seam on one shoulder seam, the shoulder notch on the other shoulder seam, and the centre front and centre back notches at the centre front and back. Pin at these points. Stitch in the crease, 1 cm from the edge, with a narrow zigzag or stretch stitch, stretching the binding slightly between the pins so it lies flat, but never stretching the neckline.
- Wrap and edgestitch the binding. Turn the binding over the raw edge to the wrong side along the FOLD line, keeping the second pressed edge folded under so it just covers the first stitching line. Pin or clip from the right side and edgestitch close to the binding edge (or stitch in the ditch), catching the binding underneath. Press with steam, without stretching the neckline.
- Set in the sleeves flat. Pin the sleeve cap (3) to the armhole, right sides together: the single notch to the front armhole, the double notch to the back armhole and the top notch to the shoulder seam. Pin the ends, then ease the cap evenly in between. Stitch 1 cm from the edge with the sleeve on top and press the seam allowances toward the sleeve. Repeat for the second sleeve, checking that it is the mirror of the first one.
- Sew the side and sleeve seams. Pin the front to the back at the side seams, right sides together, matching the waist notches, then pin the sleeve edges together, matching the underarm seams exactly. Stitch in one continuous seam from the sleeve hem, through the underarm, down to the bottom hem. Press the seam allowances toward the back and try the top on.
- Hem the sleeves and the body. Finish the raw edges if you like (knits do not fray much). Turn up 2 cm (3/4″) on the sleeves along the hem line and on the body, and pin or baste. Stitch from the wrong side with a zigzag close to the raw edge, or from the right side with a stretch twin needle 1.5 cm (5/8″) from the fold. Sew the sleeve hems over the free arm of your machine, and do not pull the fabric, or the hem will wave. Give the top a final steam press.
Tips and common mistakes
Stretch the binding, not the neckline. The neckline has no seam allowance, so if it stretches while you sew, it gapes. Pin at the four marks and let only the binding stretch a little between them.
A wavy hem comes from pulling. Lengthen the stitch slightly, use a walking foot if you have one, and let the feed dogs move the fabric. A light steam press shrinks small waves back.
Twin needle tunnelling? If a ridge forms between the two rows, loosen the needle tension a little or place a strip of tear-away stabiliser or wash-away tape under the hem.
Skipped stitches almost always mean the wrong needle: change to a new ballpoint or stretch needle.
How to style the Fitted Long Sleeve Tee
Everyday: in black or white rib, tucked into high-waisted trousers like our wide leg pants sewing pattern.
Layered: under a pinafore dress, a slip dress or an open button up shirt.
Weekend: with jeans, in stripes or a soft viscose jersey.
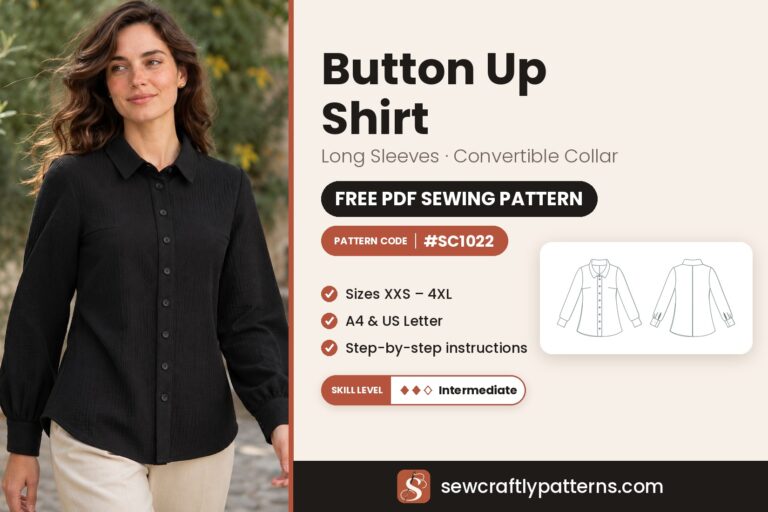
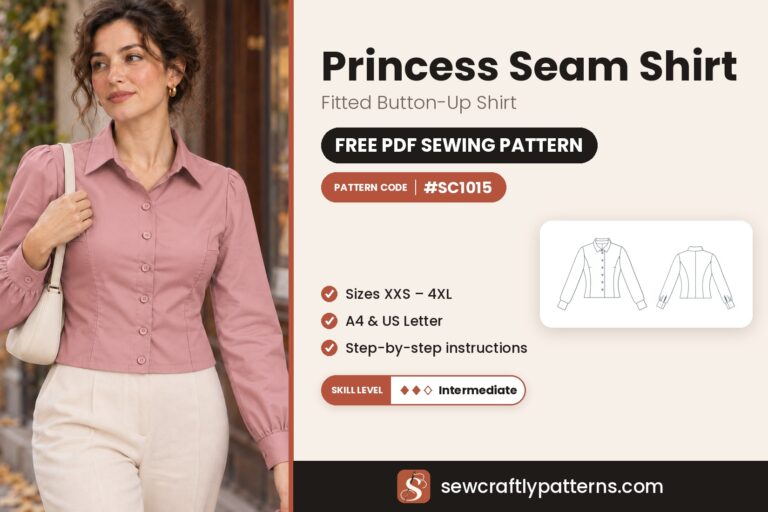
More tops to sew: try our princess seam shirt sewing pattern for a woven version with the same close fit.
Care
Wash inside out at 30 °C (86 °F) on a gentle cycle, or follow the care label of your fabric. Dry flat or on a hanger to keep the shape, and avoid a hot tumble dryer, which shrinks knits. Iron on low to medium heat, without stretching the neckline.
Questions
Is seam allowance included?
Yes: 1 cm (3/8″) on all seams and a 2 cm (3/4″) hem allowance on the body and the sleeves. The neckline has no seam allowance, because the binding wraps the raw edge.
Which paper sizes are included?
The free download comes in A4 and US Letter, as a printable PDF with one file per size, XXS to 4XL (US 00–22).
Which size should I choose?
Choose by your bust, using the body measurement table. The top has slight negative ease, so between two sizes choose the larger one for a softer fit, or if your knit has little stretch.
What fabric is best for a fitted long sleeve tee?
A light to medium-weight stretch knit with at least 30 % horizontal stretch and good recovery: cotton-elastane jersey, viscose, modal or bamboo jersey, fine rib knit or interlock. Woven fabrics are not suitable.
How much fabric do I need?
About 1.2 to 1.5 m of 150 cm wide knit, or 1.4 to 1.7 m of 115 cm wide, depending on your size. See the fabric table above.
Can I sew it without an overlocker?
Yes. Use a narrow zigzag (width 0.5 to 1 mm, length 2.5 mm) or your machine’s stretch stitch with a ballpoint needle, and hem with a zigzag or a stretch twin needle.
How do I lengthen or shorten the top?
The pattern is drafted for 168 cm (5′6″). Change the front and the back between the waist notch and the hem, and the sleeve between the elbow and the hem.
Is this top good for beginners?
Yes, it is a great first knit project for a confident beginner: four pieces, sleeves sewn in flat and only one step, the neckline binding, that asks for a little care.
Happy sewing!
Love our free patterns? Buy us a coffee to keep them coming, or simply share, pin and comment. Thank you!
 Support me on Ko-fi